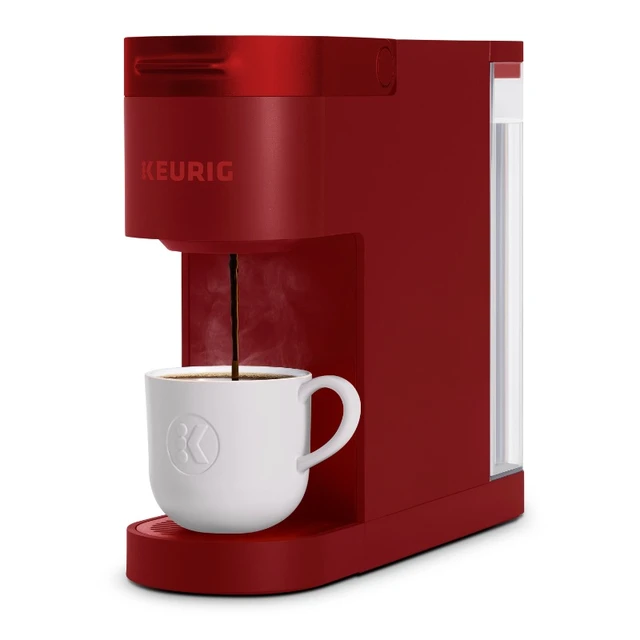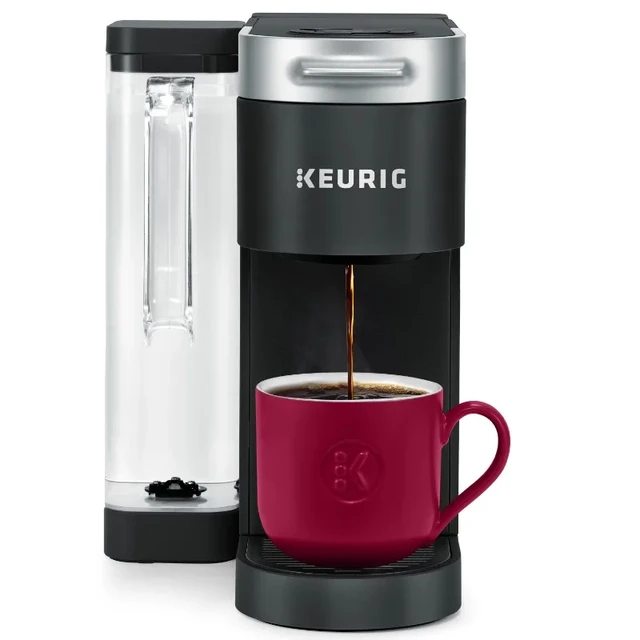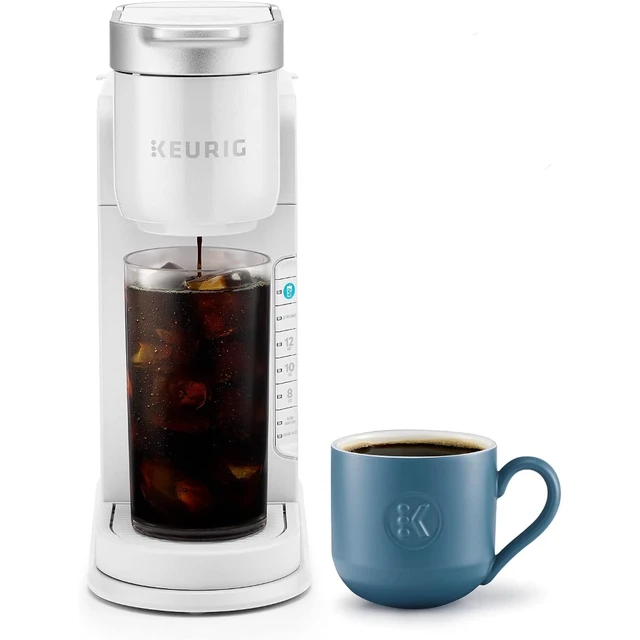
Descaling is a necessary maintenance step to keep your Keurig running smoothly by removing mineral buildup. However, it can be frustrating when your Keurig won’t power on after descaling. This issue can leave you craving your morning coffee and wondering what went wrong. Understanding the potential causes and solutions to this problem is crucial. This guide will delve into the reasons behind this malfunction and provide detailed steps to troubleshoot and fix it. We’ll explore various aspects such as electrical issues, internal component malfunctioning, and proper descaling procedures.
Electrical Connections and Power Supply
Check the Power Outlet
First, ensure that the power outlet is functioning correctly. To verify this, plug another appliance into the same outlet to see if it receives power. Sometimes, circuit breakers can trip, causing the outlet to lose power. If the outlet isn’t working and your Keurig won’t power on after descaling, reset the circuit breaker or try using a different outlet. This simple step can often resolve the issue.
Inspect the Power Cord
Examine the power cord for any visible damage or fraying. A damaged cord can prevent the Keurig from powering on. If you find any damage, refrain from using the machine and contact Keurig’s customer service for a replacement. Using a damaged power cord poses a fire hazard and should be addressed immediately.
Proper Plugging
Ensure the power cord is properly plugged into both the Keurig and the power outlet. Sometimes, the cord may become slightly dislodged during the descaling process. A secure connection is vital for the machine to function.
Resetting the Keurig
Simple Reset
To reset your Keurig, unplug it from the power outlet and wait for about five minutes. After this period, plug the machine back in and try turning it on. This action can reset the internal electronics and often resolves minor glitches.
Advanced Reset
If a simple reset doesn’t work, try an advanced reset by holding down the power button for 10 seconds while the machine is unplugged. This procedure can help clear any internal errors that may have occurred during descaling. Reconnecting the machine afterward might restore its functionality.
User Manual Instructions
Refer to the user manual for specific reset instructions for your Keurig model. Different models may have unique reset procedures, so following the manufacturer’s guidelines is essential for resolving power-related issues.
Internal Component Checks
Inspect the Water Reservoir
The water reservoir might not be seated correctly after descaling. Ensure it’s snugly in place, as an improper connection can prevent the machine from powering on. Removing and reseating the reservoir can often restore the power connection.
Check for Moisture and Residue
Descaling solutions can sometimes leave moisture or residue inside the machine. Carefully open the Keurig and check the internal components for any dampness or buildup. Cleaning and drying these areas thoroughly can help restore functionality. Use a dry cloth to wipe away any residue.
Fuse and Circuit Board Inspection
For more advanced troubleshooting, inspect the fuse and circuit board inside the Keurig. These components can sometimes malfunction or become damaged during descaling. If you’re comfortable doing so, open the machine’s casing to check these parts, but be cautious as this can void the warranty. If you observe visible damage, contact Keurig support for further assistance.
Descaling Process Issues
Incorrect Descaling Procedure
Following the correct descaling procedure is crucial for maintaining your Keurig. Double-check that you followed all the steps in the manual. An incomplete or incorrect descaling cycle can sometimes cause the machine to malfunction. Adhering to the manufacturer’s instructions ensures proper maintenance.
Use of Proper Descaling Solution
Using a proper descaling solution recommended by Keurig is essential. Generic or homemade solutions might not be compatible and can cause issues. Stick to the recommended products to avoid complications. Using improper solutions can lead to residue buildup or damage internal components.
Post-Descaling Rinse
After descaling, it’s important to run several clean water cycles through the machine to rinse out any remaining solution. Residual descaling solution can interfere with the machine’s operation. Ensuring a thorough rinse helps maintain the machine’s functionality and taste of the coffee.
External Factors and Malfunctions
Environmental Factors
Ensure the surrounding environment of your Keurig is conducive to its operation. Extreme temperatures, both hot and cold, can affect the internal components. Place the machine in a dry, moderate temperature area to prevent malfunctions related to environmental factors.
Blocked Needles
The needles that puncture the K-cup can become clogged during descaling, especially if debris is dislodged during the process. Use a needle cleaning tool or a paperclip to gently clear any blockages. Ensuring the needles are clean helps the machine operate correctly.
Safety Interlocks
Keurig machines have multiple safety interlocks to ensure proper operation. If any of these are not correctly engaged, the machine won’t power on. Check to ensure the lid is securely closed and the K-cup holder is properly seated. These interlocks protect the user and ensure safe operation.
When to Seek Professional Help
Warranty and Customer Support
If your Keurig is still under warranty, contact Keurig customer support. They can provide specific troubleshooting steps or arrange for a repair or replacement. Providing the serial number and purchase details can expedite the process. Utilizing the warranty helps avoid additional costs.
Professional Repair Services
For issues beyond simple troubleshooting, consider professional repair services. Local appliance repair shops can often fix electrical or mechanical issues. Ensure the technician is experienced with Keurig machines to ensure proper repairs. Professional services provide expertise and can extend the machine’s lifespan.
Replacement Options
If the machine is older and continually experiencing issues, it might be more cost-effective to replace it. Consider upgrading to a newer model with improved features. Researching the latest models can help you find a suitable replacement that fits your needs.
 Preventive Measures
Regular Maintenance
Regular maintenance can prevent many common issues. Descale your Keurig every three to six months, depending on usage and water hardness. Regular cleaning of the water reservoir, needles, and external parts can also extend the machine’s life. A maintenance schedule ensures consistent performance.
Using Filtered Water
Using filtered or bottled water can reduce mineral buildup and extend the time between descaling. This practice can help maintain the machine’s efficiency and improve the taste of your coffee. Reducing mineral buildup also prevents future descaling-related issues.
Avoiding Overuse
Avoid running the machine continuously without breaks. Overuse can lead to overheating and wear out internal components faster. Allow the Keurig to cool down between uses to prevent overheating-related issues.
Exploring Alternative Coffee Machines
Pros and Cons of Pod Machines
Consider the pros and cons of different coffee machines. Pod machines offer convenience but can be prone to specific issues like power failures. Weigh these factors while deciding if a pod machine is the best option for your coffee needs.
Traditional Drip Coffee Makers
Traditional drip coffee makers are reliable alternatives to pod machines. They have fewer electronic components that can malfunction and often provide better control over the brewing process. Although less convenient, they offer consistency and durability.
French Press and Pour-Over Methods
French press and pour-over methods are manual coffee-making alternatives that don’t rely on electrical components. These methods offer precise control over brewing and can produce rich, flavorful coffee. Exploring different brewing methods can add variety and reliability to your coffee routine.
Conclusion: keurig won’t power on after descaling
When your Keurig won’t power on after descaling, it can disrupt your daily routine and leave you without your much-needed coffee. However, understanding and addressing the potential causes can help restore your machine’s functionality. From checking electrical connections and conducting resets to inspecting internal components and following proper descaling procedures, comprehensive troubleshooting can resolve many issues. If these steps don’t work, seeking professional help or considering replacement options ensures you can continue enjoying your coffee without prolonged interruptions. Regular maintenance and preventive measures will also help keep your Keurig in good working order, preventing future issues and prolonging the machine’s life. By following this guide, you can effectively troubleshoot and fix your Keurig, ensuring a smooth and enjoyable coffee experience every day.

