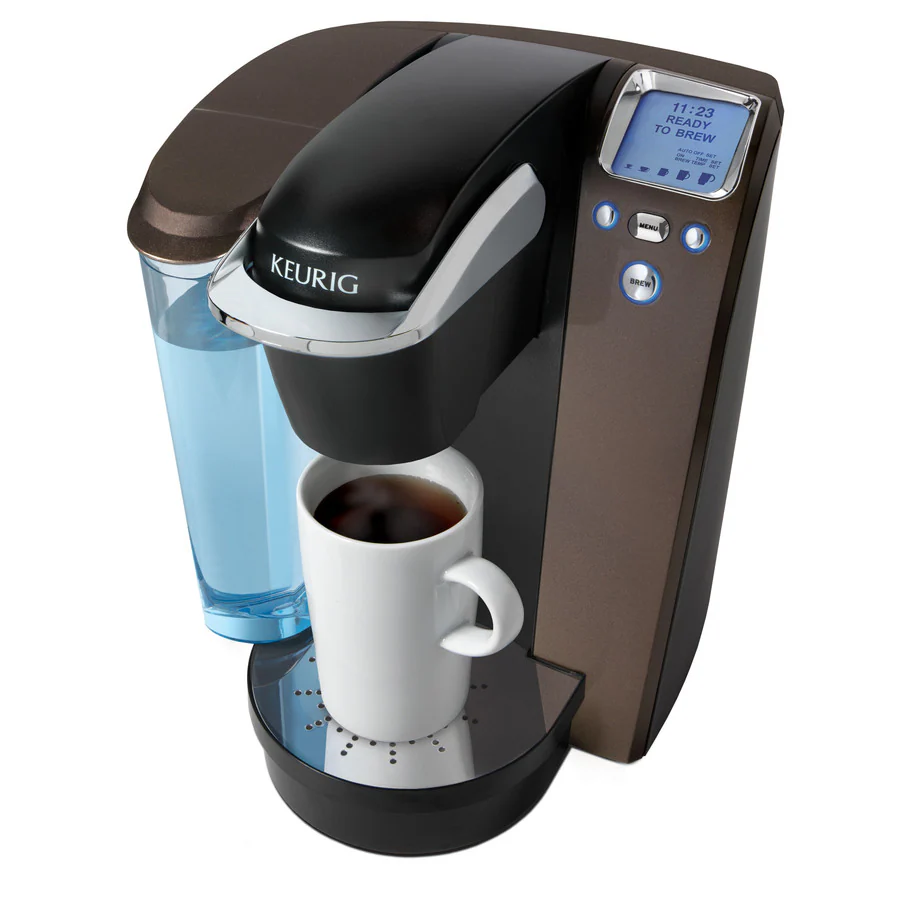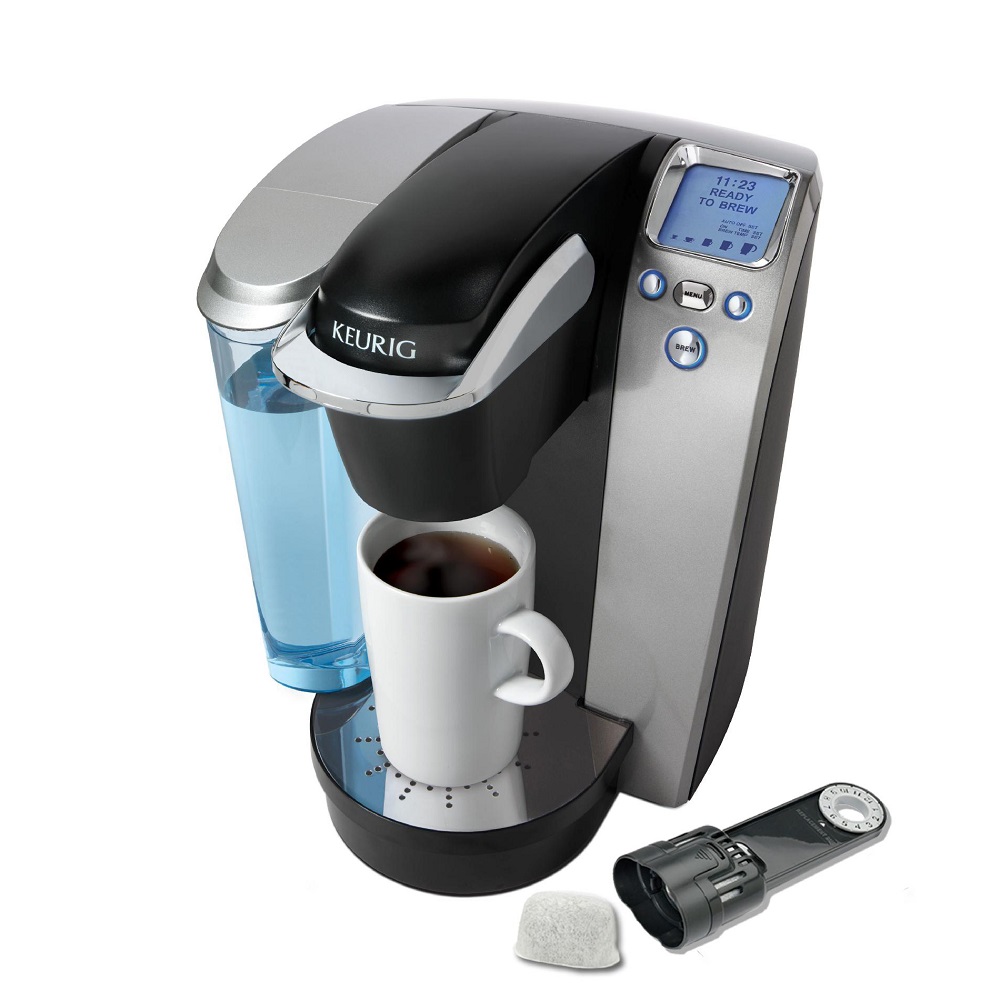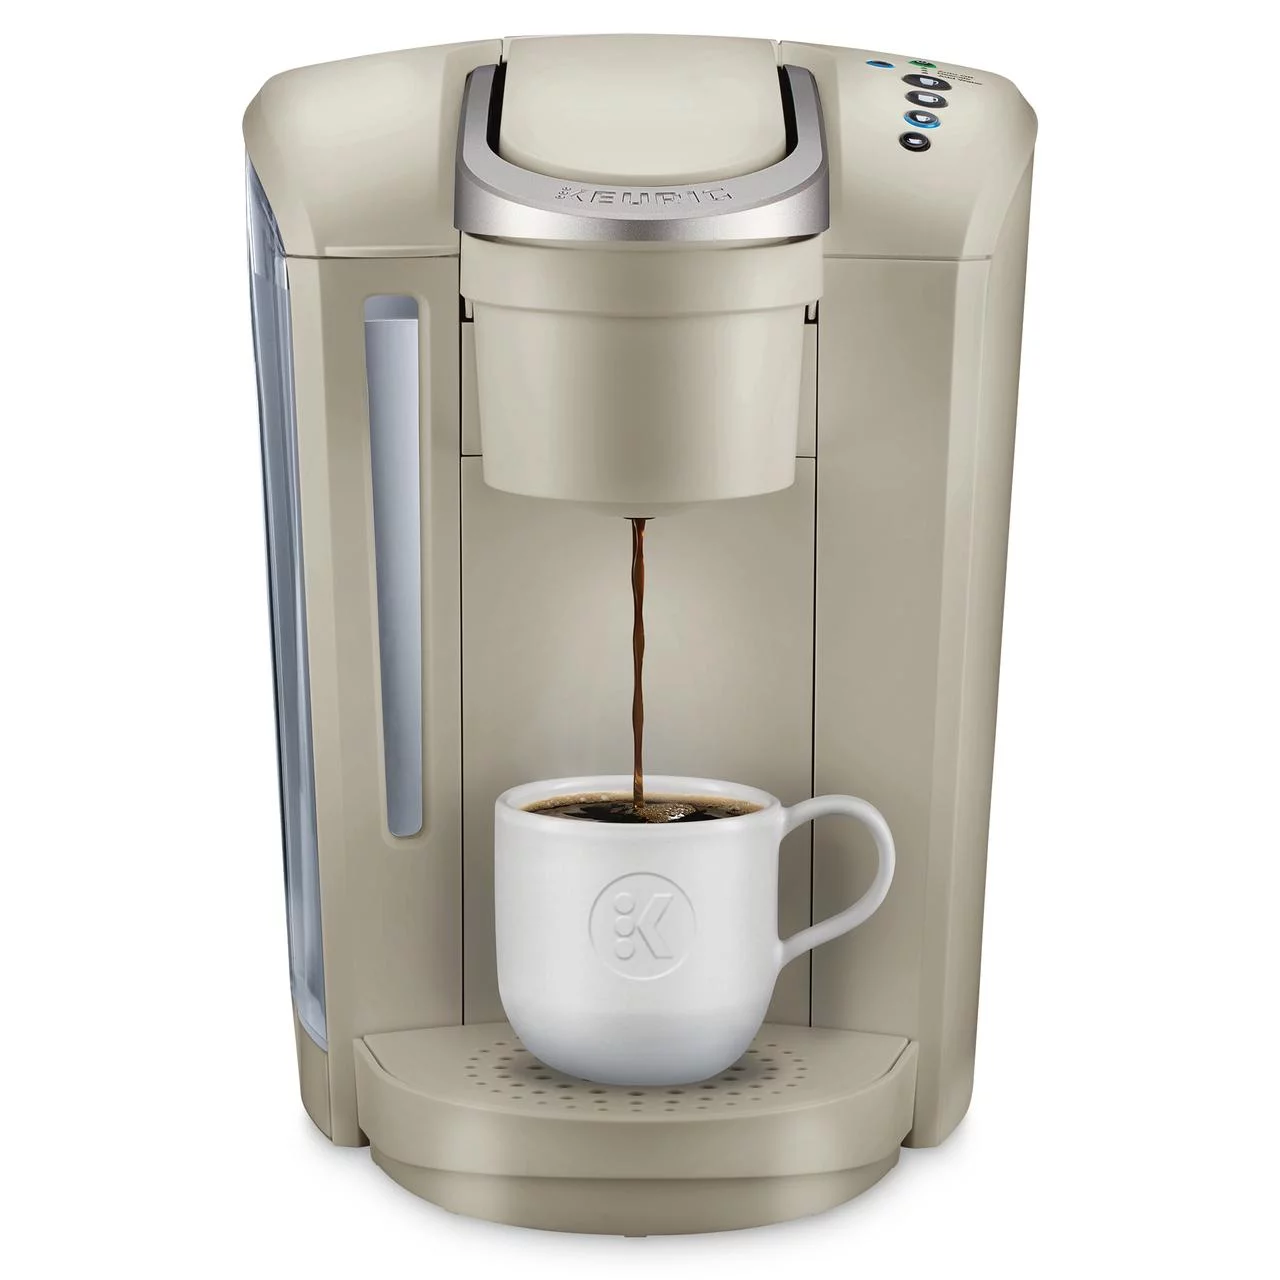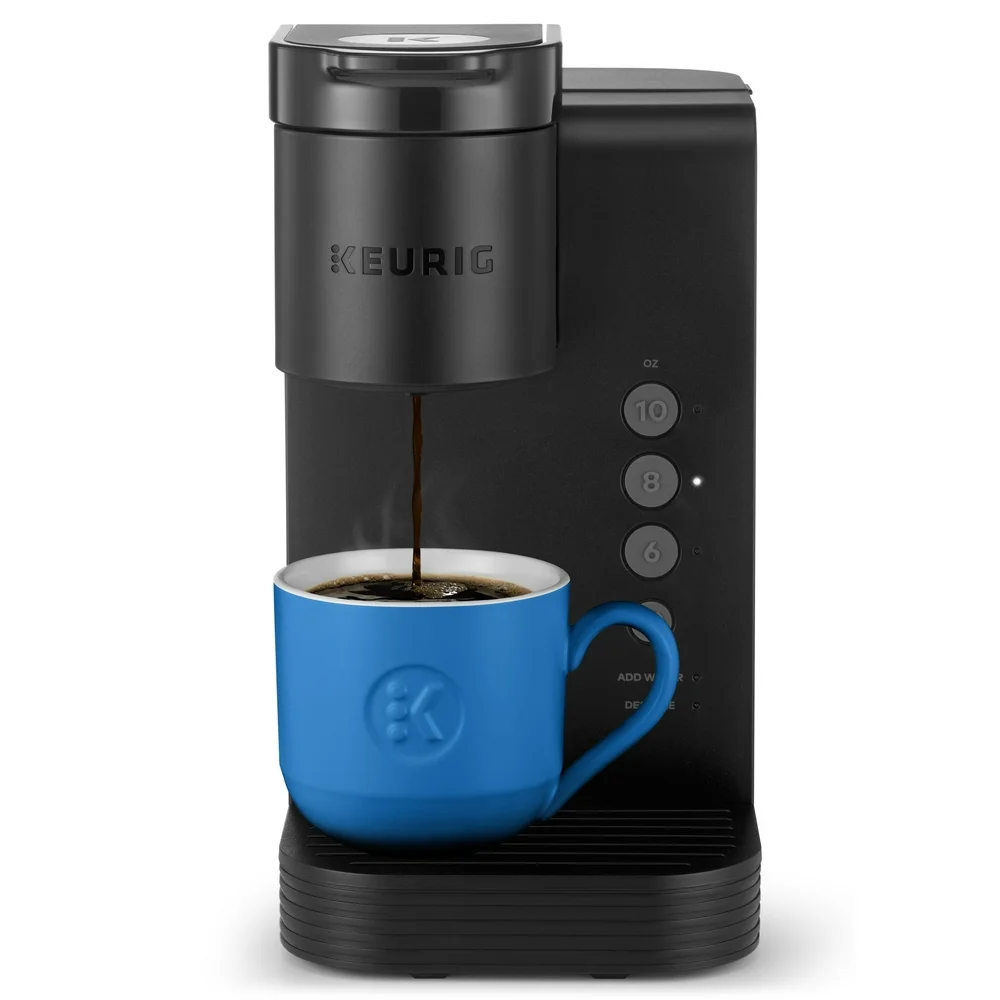
There’s nothing worse than craving your favorite coffee and finding out that your Keurig isn’t operating as it should. The convenience of a quick cup turns into confusion and frustration. Why is my Keurig not working, you wonder? Understanding the common issues and troubleshooting methods can save you time and perhaps even prevent a costly repair or replacement. Let’s explore the potential reasons your Keurig might be malfunctioning and how you can address each issue effectively.
Power Issues
One of the simplest reasons for your Keurig not working is a power issue. It might sound basic, but ensuring the coffee maker is properly plugged into a functioning outlet is essential. Sometimes, the problem might be with the outlet or an internal electrical fault within the machine itself.
Start by checking the power cord for any visible damage and ensuring it’s securely inserted. Test the outlet with another device to ensure it’s working correctly. If your Keurig still doesn’t power on, try plugging it into a different outlet. Persistent power issues may require professional repair or contacting Keurig customer support for further assistance.
Clogged Needles
The Keurig system relies on small needles to puncture K-Cups and deliver water through the coffee grounds. These needles can become clogged with coffee grounds or debris, affecting the machine’s performance. If your Keurig isn’t brewing, this could be a likely cause.
To clean the needles, unplug the machine and remove the K-Cup holder. Use a paperclip or a Keurig needle cleaning tool to gently dislodge any debris from the entry and exit needles. After cleaning, reassemble the machine and run a water-only brew cycle to flush out any remaining particles. Regularly cleaning the needles can prevent clogging and ensure consistent brewing.
Water Flow Problems
Water flow issues are another common reason why your Keurig might not be working. If your coffee maker isn’t brewing the correct amount of coffee or seems to be struggling to pump water, mineral buildup from hard water could be the culprit.
Descale your Keurig according to the manufacturer’s instructions. Typically, this involves running a mixture of equal parts water and white vinegar through the machine, followed by several clean water rinse cycles to remove any vinegar taste. Regular descaling (every 3-6 months) maintains optimal water flow and prolongs the life of your machine.
Incorrect Brew Settings
Sometimes, your Keurig might not work correctly due to incorrect brew settings. If the coffee tastes weak or the machine isn’t brewing at all, it might be on an incorrect or unfamiliar setting. Checking and adjusting the settings can resolve this issue.
Refer to your Keurig’s user manual for instructions on resetting or adjusting the brew size, strength, and temperature settings to your desired preferences. Ensuring that the machine is set up according to your preferences can often fix brewing problems and enhance your coffee experience.
Empty or Misaligned Water Reservoir
An empty or improperly seated water reservoir could be why your Keurig is not working. The machine requires a certain amount of water to brew, and if the reservoir isn’t correctly placed or filled, it won’t function properly.
Ensure the water reservoir is filled to the appropriate level and correctly seated in its position. Some models have a sensor to detect the reservoir, so make sure it’s clean and properly aligned. This simple check can quickly resolve many operational issues, allowing you to enjoy your coffee without interruptions.
Malfunctioning Components
Internal component failures can also be why your Keurig isn’t working. These might include issues with the heating element, pump, or control board. Such problems often require more advanced troubleshooting and repair.
If you’ve addressed simpler issues and your Keurig still isn’t working, consult the user manual for troubleshooting tips specific to your model. For complex issues, contacting Keurig customer support or seeking professional repair services might be necessary. Professional assistance ensures proper diagnosis and repair, potentially saving your machine from being discarded.
Overflowing Drip Tray
A full or overflowing drip tray can cause your Keurig to malfunction. If the drip tray is not emptied regularly, it can lead to leaks and affect the machine’s performance.
Check the drip tray for any overflow and empty it as needed. Keeping the drip tray clean and not overfilled maintains the machine’s efficiency and prevents potential issues. Regularly monitoring and cleaning the drip tray is a simple yet effective maintenance practice.
Problems with K-Cups
Issues with the K-Cups themselves can also lead to your Keurig not working properly. Incorrectly inserted K-Cups or damaged ones may prevent the machine from brewing as expected.
Always check the K-Cup before inserting it. Ensure the foil seal is intact and that it’s properly placed in the K-Cup holder. If you’re using reusable K-Cups, ensure they’re filled and sealed correctly. Properly using K-Cups ensures smooth operation and prevents unnecessary malfunctions.
Sensor Malfunctions
Modern Keurig machines rely on sensors to detect water levels, K-Cup placement, and other operational aspects. A malfunctioning sensor can hinder the machine’s ability to perform its tasks correctly.
Cleaning the machine thoroughly, ensuring all compartments are in place, and resetting the machine can sometimes resolve sensor issues. However, persistent sensor malfunctions may require professional attention to diagnose and fix the problem. Keeping sensors clean and functional ensures your Keurig operates efficiently.
Maintenance Tips
Preventing issues with your Keurig involves regular maintenance and care. Clean the external parts of the machine regularly with a damp cloth, descale the internal components every few months, and ensure the needles and water reservoir are free of debris.
Following the manufacturer’s maintenance guidelines can significantly extend the life of your Keurig and prevent many common problems. Consistent maintenance routines keep your machine in optimal condition and ensure a reliable coffee brewing experience.
 Software Updates
Certain Keurig models come equipped with software that might require updates. If your machine is not functioning correctly, it could be due to outdated firmware.
Check the manufacturer’s website or user manual for instructions on updating your Keurig’s software. Regular updates can enhance functionality and resolve bugs that might be affecting performance. Keeping the software updated ensures your machine benefits from the latest improvements and fixes.
Factory Reset
A factory reset can resolve many issues by restoring the machine to its original settings. This should be considered when other troubleshooting methods haven’t worked.
Refer to your user manual for the specific steps to perform a factory reset on your Keurig model. This process generally involves holding down certain buttons for a specified period. Factory resetting can clear persistent issues and give your machine a fresh start.
Professional Assistance
When all else fails, seeking professional help is sometimes the best course of action. Contacting Keurig customer support or a professional repair service ensures that your machine is thoroughly examined and repaired.
Professionals have the experience and tools to diagnose and fix complex issues that might not be apparent through basic troubleshooting. Professional assistance guarantees a comprehensive solution, potentially restoring your Keurig to its optimal working condition.
Conclusion: Ensuring Consistent Coffee Enjoyment
In conclusion, determining why your Keurig is not working involves addressing various potential issues such as power problems, clogged needles, water flow impediments, and more. Thorough troubleshooting and maintenance can resolve most issues and restore your machine’s functionality. By understanding and addressing these common problems, you can ensure your Keurig continues to provide consistent coffee enjoyment. Investing time in regular maintenance and seeking professional help when needed prolongs the life of your machine and ensures a reliable brewing experience every time.

