Introduction:
Creating delicious homemade ice cream in a blender is an effortless and fun way to enjoy this frozen treat without the need for an ice cream maker. By using simple ingredients and some kitchen techniques, you can whip up a variety of flavors to suit your taste. This detailed guide will walk you through the steps, tips, and tricks for making ice cream in a blender, ensuring you achieve the desired texture and flavor every time.
How to Make Ice Cream in a Blender: What Are the Steps and Tips?
Understanding the Basics of Blender Ice Cream
Before diving into the actual making process, it’s essential to understand how blender ice cream works.
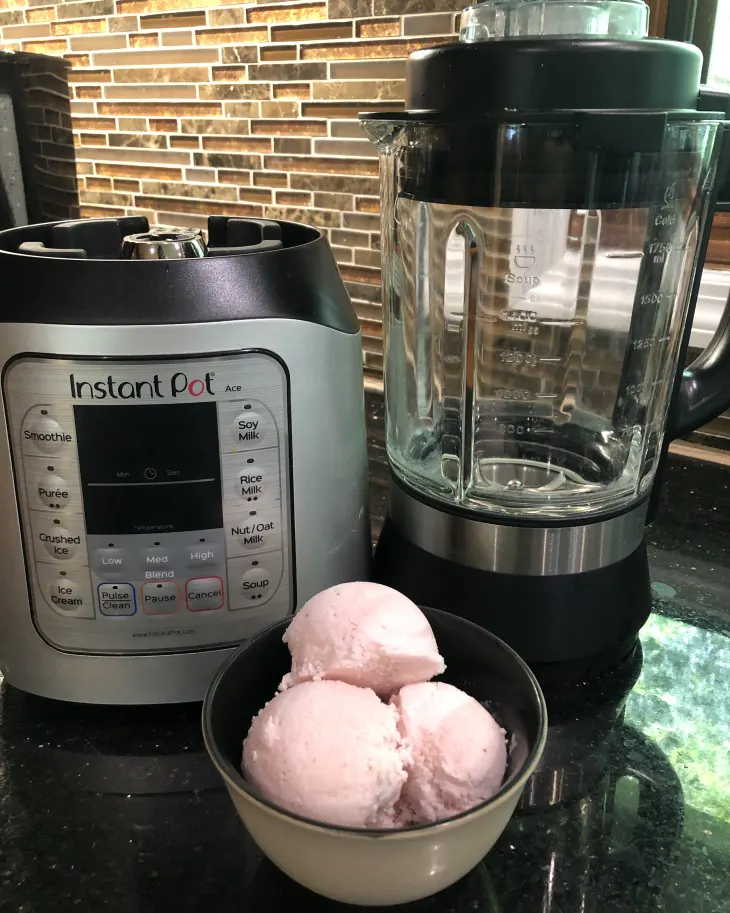
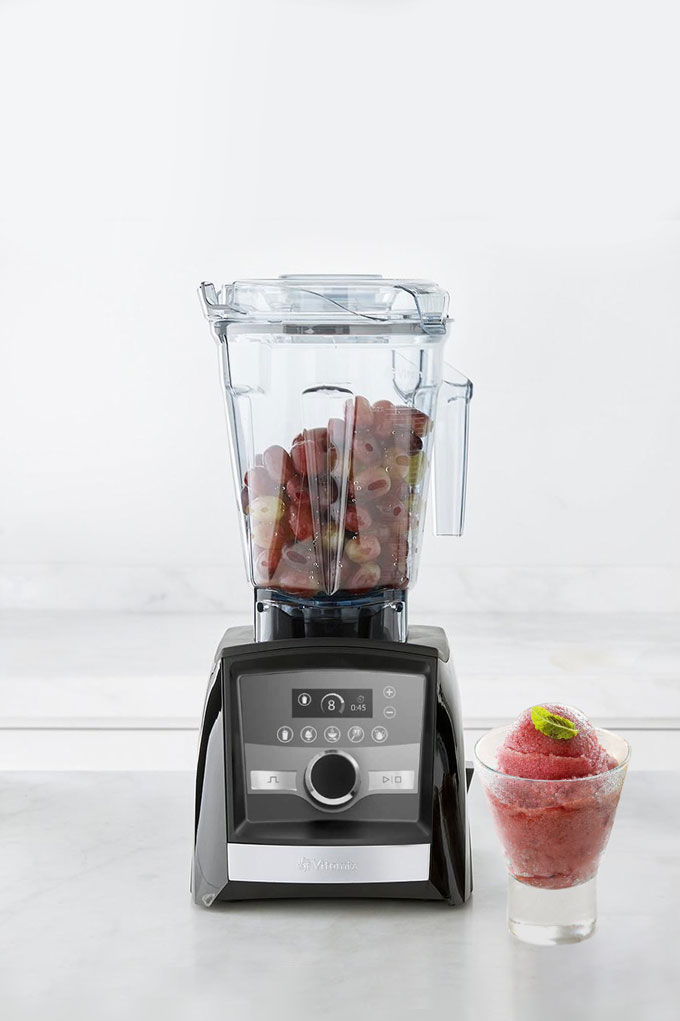
Why Use a Blender? Blenders are versatile kitchen appliances that can efficiently mix and aerate ingredients, creating a smooth, creamy texture ideal for ice cream. They are a handy alternative for those who do not own an ice cream maker.
Ingredient Basics: The fundamental ingredients for ice cream typically include dairy (milk, cream, or half-and-half), sugar, and flavorings. Additionally, eggs can be used for a richer texture, but they are optional. Knowing the role of each ingredient helps in adjusting recipes to your liking.
Freezing Process: Unlike traditional ice cream makers that churn while cooling, blender ice cream involves blending at room temperature and then freezing. This method requires certain techniques to ensure a creamy, scoopable result.
Selecting the Right Blender for Ice Cream
Not all blenders are created equal, and choosing the right one can make a significant difference in your ice cream-making experience.
Power and Capacity: A high-power blender (at least 500 watts) is preferable, as it can easily blend frozen ingredients and create a smooth consistency. A larger capacity blender is also beneficial if you plan to make bigger batches of ice cream.
Blade Design: Blenders with multiple blades or specialized designs for crushing ice and blending frozen ingredients offer an advantage in achieving a smooth texture.
Speed Settings: Adjustable speed settings and pulse functions allow for better control over the blending process, helping you achieve the desired consistency without overworking the ingredients.
Basic Steps to Make Blender Ice Cream
Follow these straightforward steps to make basic ice cream in a blender.
Step 1: Prepare Ingredients
Choose Your Base: Select your dairy base—whole milk, heavy cream, or a combination of both. For vegetarians or those with dietary restrictions, plant-based milks like almond or coconut milk can be used.
Add Sweeteners: Add sugar or alternative sweeteners like honey, agave syrup, or stevia. Typically, ½ cup to 1 cup of sweetener per quart of dairy base is a good starting point.
Flavor Additions: Incorporate flavors through extracts (vanilla, almond), fruits, chocolate, or nuts. Fresh or frozen fruit should be pre-chopped for easier blending.
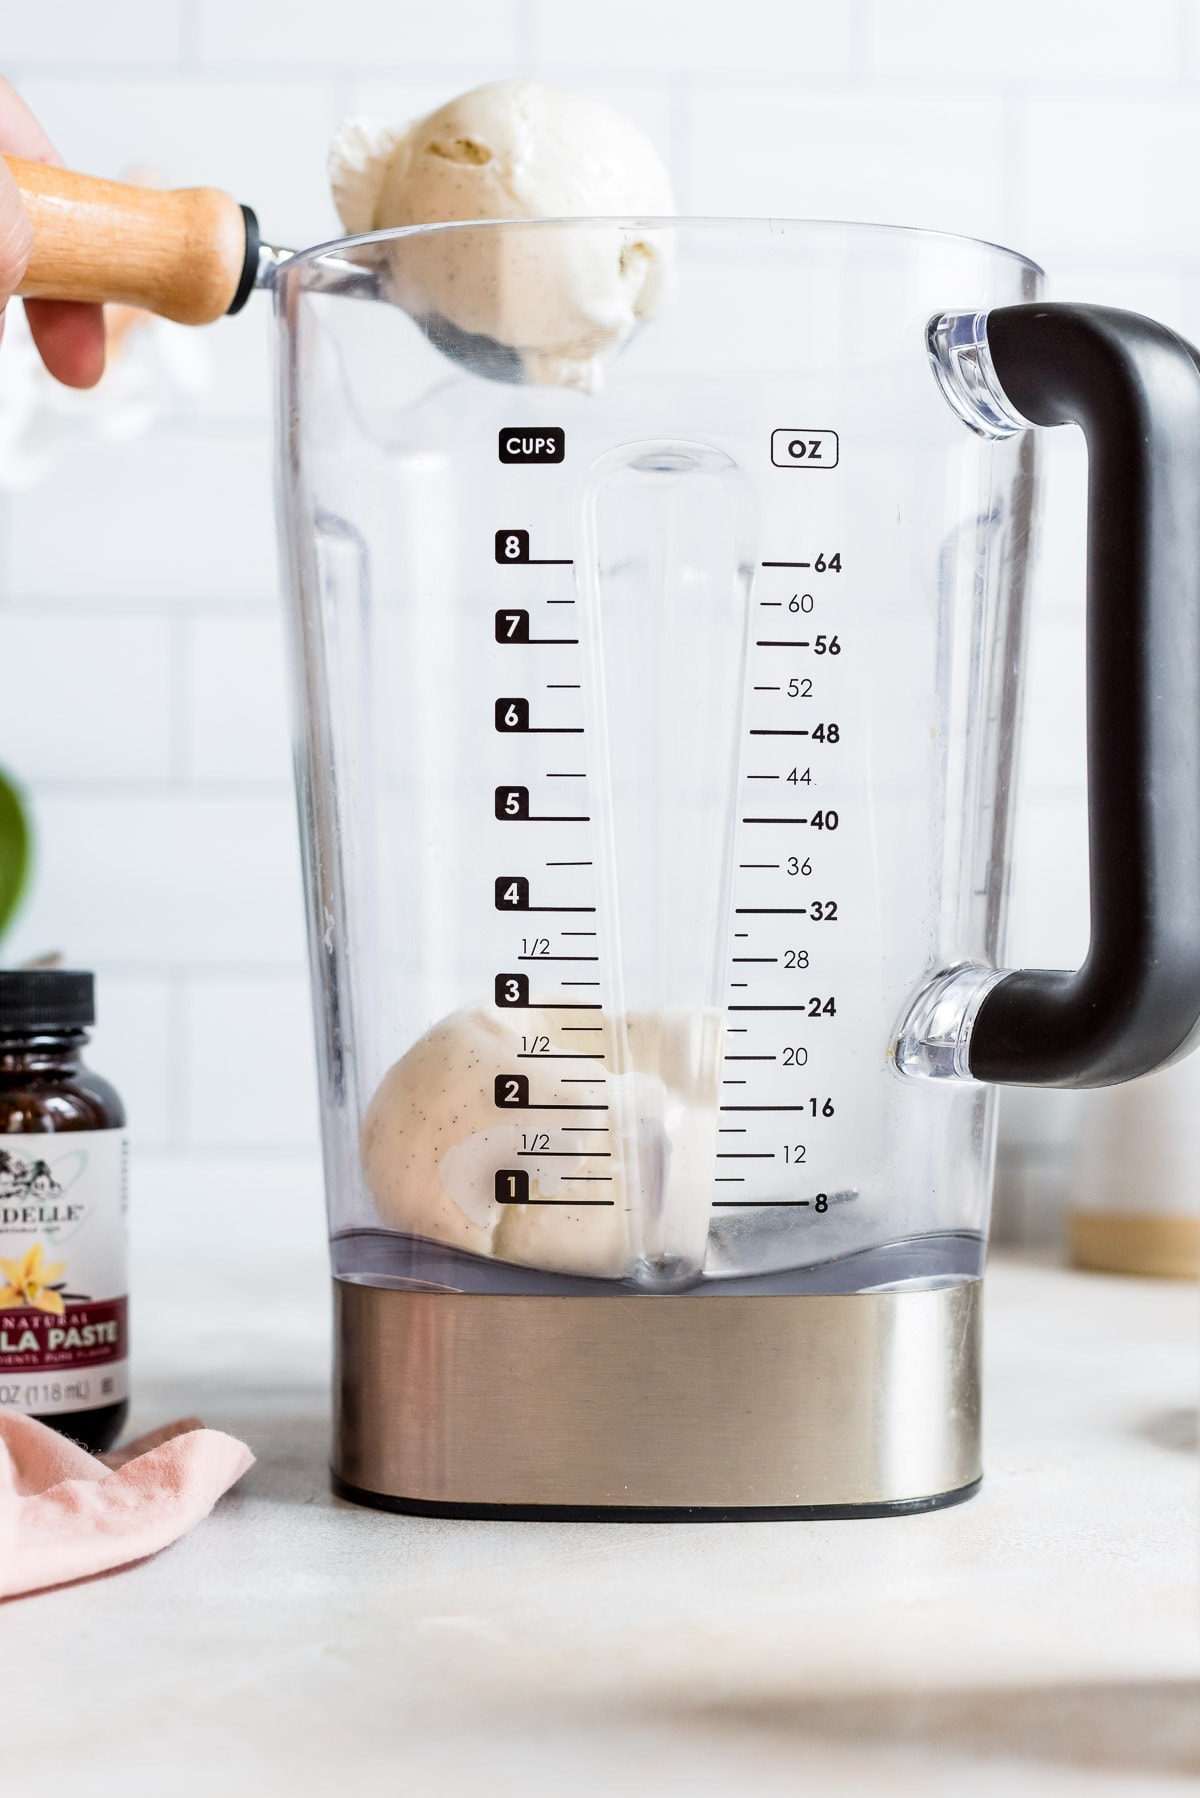
Step 2: Blend the Mixture
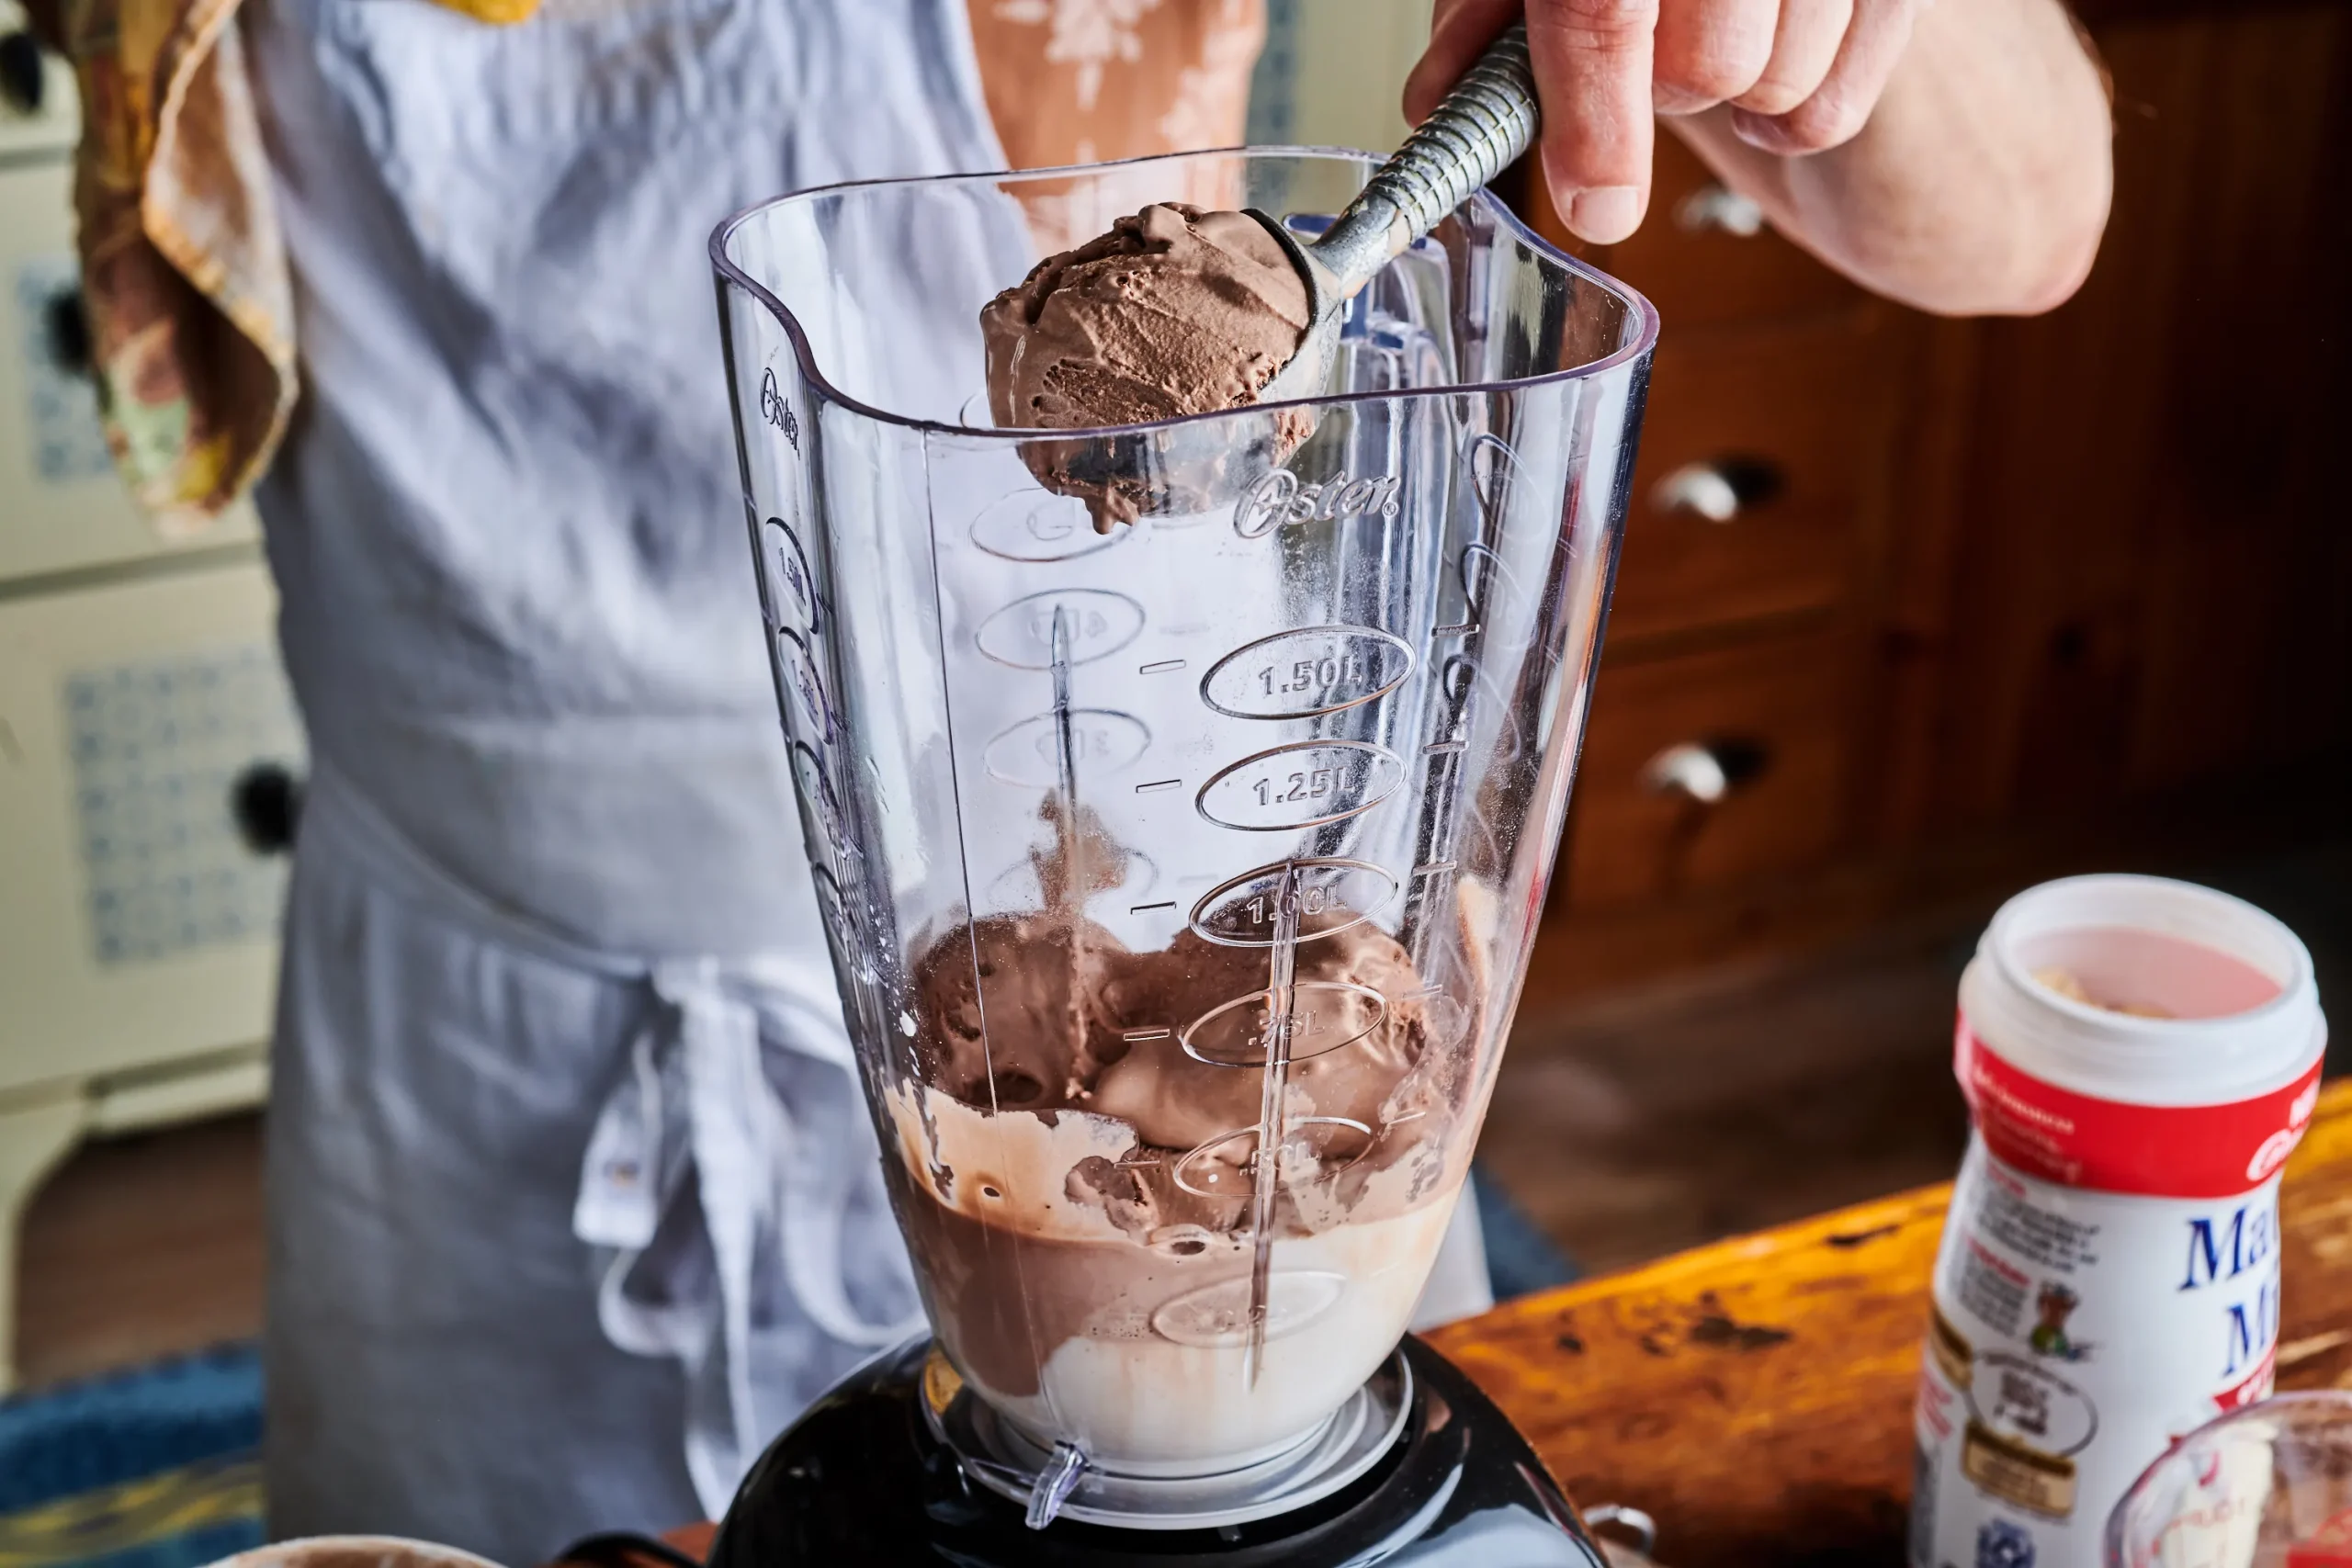
Combine Ingredients: Place all the ingredients in the blender. Typically, this includes 2 cups of dairy, ½ cup of sweetener, and added flavors.
Blend and Aerate: Blend on medium-high speed until the mixture is smooth and well-aerated, usually around 2-3 minutes. If the mixture becomes too thick, add small amounts of milk to achieve a smooth pourable consistency.
Step 3: Freeze the Mixture
Transfer and Chill: Pour the blended mixture into a stainless steel or plastic container suitable for freezing. Cover it with a lid or plastic wrap to prevent ice crystals from forming.
Initial Freeze: Place the container in the freezer for about 1 hour. After the initial freeze, stir the mixture vigorously to break up any ice crystals and promote creaminess.
Final Freeze: Return the container to the freezer and allow it to freeze completely, typically 3-4 hours. For optimal texture, stir the mixture every 30 minutes during the first 2 hours.
Advanced Techniques for Creamier Ice Cream
To achieve a richer, creamier texture, consider incorporating these advanced techniques.
Use of Eggs (Custard Base): For a custard-style ice cream, incorporate tempered egg yolks. Heat the dairy and sweetener mixture on the stove until steaming. Slowly whisk in beaten egg yolks, then return to the stove and cook until slightly thickened before blending and freezing.
Stabilizers: Adding a small amount of stabilizer like cornstarch or gelatin can improve the texture by preventing large ice crystals from forming. A teaspoon of cornstarch dissolved in milk or a packet of unflavored gelatin can be added to the mix.
Alcohol Addition: A splash of alcohol such as vodka or liqueur can lower the freezing point and result in softer, creamier ice cream. Use about 1-2 tablespoons per quart of mix.
Experimenting with Flavors and Mix-Ins
One of the joys of homemade ice cream is the ability to experiment with various flavors and textures.
Fruit and Berry Swirls: Add pureed fruits or berries after the initial blending. Gently fold them into the mixture before the final freeze to create swirls of fruit flavor.
Chocolate and Caramel Ribbons: Drizzle melted chocolate or caramel sauce into the ice cream after it’s partially frozen. The sauce will harden into ribbons, adding a delightful texture and flavor.
Candy and Cookie Pieces: Mix in crushed cookies, candy pieces, or chocolate chips during the initial freeze period. These mix-ins add crunch and increased flavor complexity.
Common Issues and Troubleshooting
Even with the best techniques, issues can arise. Here’s how to address common problems.
Too Hard or Icy Ice Cream: If the ice cream is too hard or develops ice crystals, ensure you’re stirring it during the initial freeze period to break up ice crystals. Adding stabilizers or alcohol can also help.
Not Sweet Enough: Sweetness can diminish after freezing. Taste your mix before freezing and adjust the sweetness as needed, keeping in mind that frozen ice cream will taste less sweet than the same mixture at room temperature.
Uneven Texture: Uneven texture often results from improper mixing or insufficient aeration. Ensure the mixture is well-blended and smooth before freezing, and stir regularly during the initial freeze.
Serving and Storing Homemade Ice Cream
Proper serving and storage techniques ensure your ice cream remains delicious and scoopable.
Softening Before Serving: Let the ice cream sit at room temperature for a few minutes before scooping to soften slightly. This makes it easier to serve and enhances the texture.
Proper Storage: Store homemade ice cream in an airtight container to prevent freezer burn and keep it fresh. For long-term storage, place a piece of plastic wrap directly on the surface of the ice cream before sealing the container.
User Experiences and Reviews
Hearing from others who make ice cream in blenders can provide additional tips and inspiration.
Success Stories: Many users report success with high-power blenders, appreciating the quick and easy process. Popular flavors include classic vanilla, rich chocolate, and fruity blends.
Challenges and Solutions: Common challenges include achieving the right texture and preventing ice crystals. Users suggest frequent stirring and the use of natural stabilizers to solve these issues.
Innovative Flavors: Creativity abounds in the world of homemade ice cream, with users experimenting with flavors like matcha green tea, peanut butter and jelly, and spicy chocolate.
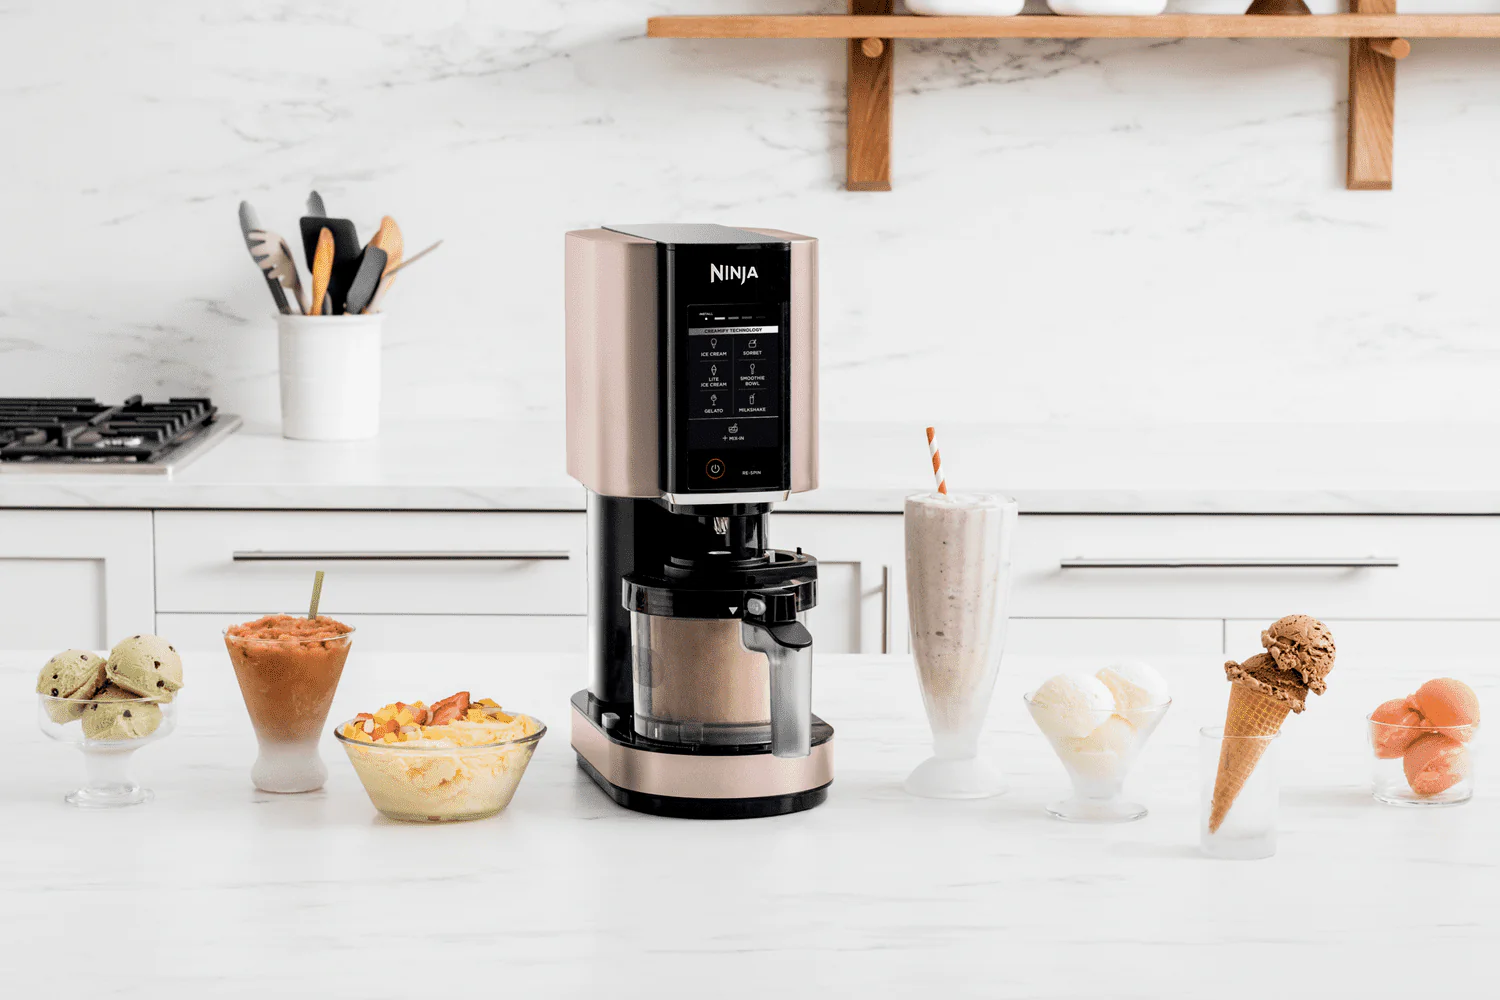
Comparing Blender Ice Cream to Traditional Methods
Understanding how blender ice cream compares to traditionally churned ice cream can help you choose the best method for your needs.
Convenience: Blender ice cream is quicker and more convenient, requiring less specialized equipment. It’s ideal for those who want to make small batches quickly.
Texture Differences: Traditional ice cream makers often produce a smoother, creamier texture due to continuous churning while freezing. Blender-made ice cream can achieve similar results with proper techniques but may require more manual intervention.
Versatility: Blender ice cream allows for easy experimentation with small batches and creative flavors, making it a flexible option for home cooks.
Considering Dietary Restrictions and Preferences
Homemade ice cream offers the flexibility to cater to various dietary needs and preferences.
Dairy-Free Options: Use plant-based milks like almond, coconut, or cashew milk as the base. These alternatives can produce creamy, delicious ice cream suitable for lactose-intolerant or vegan individuals.
Low-Sugar Alternatives: Opt for natural sweeteners like honey, agave syrup, or stevia to reduce sugar content without sacrificing flavor. Experiment with quantities to balance sweetness and texture.
Nut-Free Flavors: For those with nut allergies, choose nut-free milks and flavorings. Be cautious with mix-ins and ensure all ingredients are safe and free from cross-contamination.
Conclusion
Making ice cream in a blender is a simple, versatile, and enjoyable way to create your favorite frozen treat at home. By understanding the basics, selecting the right blender, and following the step-by-step process, you can achieve delicious results with ease. Advanced techniques and troubleshooting tips help refine your method, while experimenting with flavors and considering dietary preferences add personal touches to your creations. Whether for a quick dessert or an experimental culinary project, blender ice cream offers endless possibilities for delightful, homemade indulgence.