
Introduction:
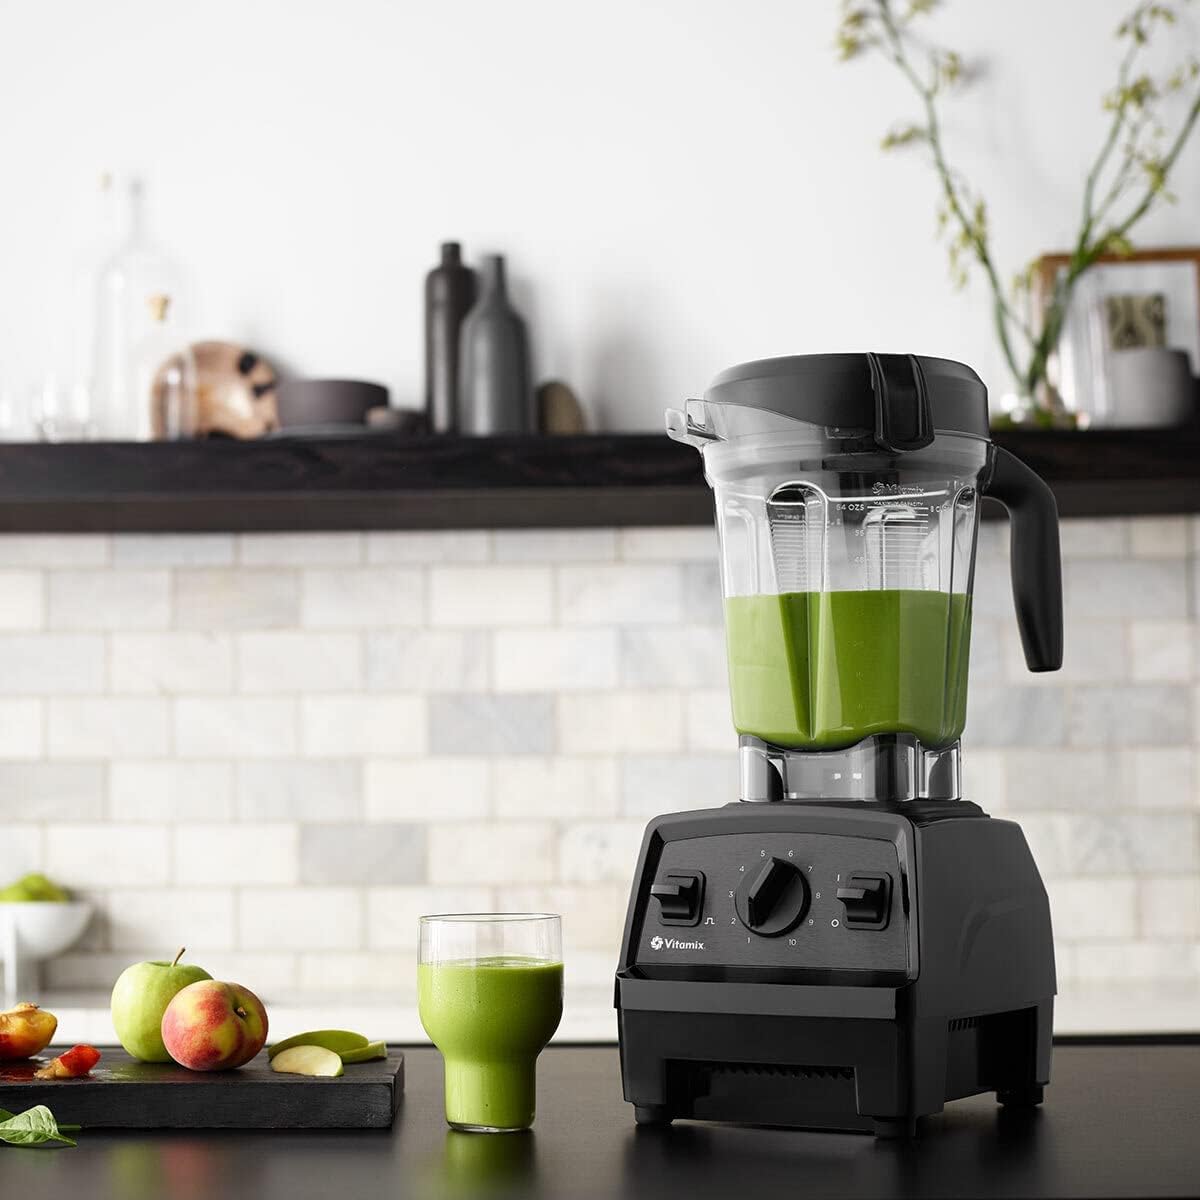
A Vitamix blender is an essential kitchen tool known for its powerful performance and versatility. Keeping it clean not only ensures optimal performance but also extends its lifespan. Cleaning a Vitamix blender involves various steps and methods that cater to both daily maintenance and deep cleaning routines. This comprehensive guide explores practical and effective ways to clean your Vitamix blender, ensuring it remains in pristine condition.
How to Clean a Vitamix Blender: What Are the Effective Methods?
Understanding the Importance of Regular Cleaning
Regular cleaning of your Vitamix blender is crucial for maintaining hygiene and ensuring efficient operation.
Health and Safety: Leftover food particles can harbor bacteria and mold, posing health risks. Regular cleaning ensures your blender remains safe to use for all food preparations.
Performance and Longevity: A clean blender operates more efficiently, reducing wear on the motor and blades. Regular maintenance prevents buildup that can affect performance and extends the life of your Vitamix.
Aesthetic Appeal: Keeping your Vitamix blender clean ensures it always looks its best, maintaining the aesthetic appeal of your kitchen.
Daily Cleaning Routine
Daily cleaning after each use is essential for maintaining your Vitamix blender’s performance and hygiene.
Step 1: Rinse the Container
Initial Rinse: Immediately after use, rinse the blender container with warm water to remove leftover food particles. This prevents them from drying and hardening, making subsequent cleaning easier.
Inspect for Residue: Look inside the container to ensure no food residue remains. Pay special attention to the blades and inner corners where residue can accumulate.
Step 2: Add Soap and Water
Soap and Water Mixture: Fill the container halfway with warm water and add a few drops of dish soap. Liquid dish soap is ideal because it cuts through grease and food particles effectively.
Secure the Lid: Place the lid securely on the container. This prevents water and soap from splashing out during the blending cycle.
Step 3: Blend and Rinse
Activate Cleaning Cycle: Turn on the blender and run it on the highest setting for 30 to 60 seconds. The powerful blades will create a vortex, thoroughly cleaning the container’s interior, including the blades.
Final Rinse: Turn off the blender and pour out the soapy water. Rinse the container thoroughly with warm water to remove any soap residue. Ensure the container, lid, and any other removable parts are fully rinsed.
Deep Cleaning and Stain Removal
Even with regular daily cleaning, occasional deep cleaning is necessary to remove stains, odors, and buildup.
Step 1: Use Baking Soda and Vinegar
Baking Soda Paste: For stubborn stains or odors, create a paste with baking soda and a small amount of water. Apply the paste to the stained areas inside the blender container.
Vinegar Soak: For overall deep cleaning, fill the container halfway with warm water and add one cup of white vinegar. Allow the mixture to sit for 10 to 15 minutes. The acidity of the vinegar helps break down residues and neutralize odors.
Step 2: Scrub with a Sponge
Scrubbing: After soaking, use a non-abrasive sponge or brush to scrub the interior of the container. Focus on areas with stains or buildup. The combination of vinegar and baking soda paste helps lift stubborn residues.
Rinse Thoroughly: Rinse the container with warm water to remove the vinegar solution and any remaining baking soda paste. Ensure all cleaning agents are thoroughly washed away.
Cleaning the Blades Safely
The blades are a critical component of your Vitamix blender and require careful cleaning to maintain their sharpness and effectiveness.
Step 1: Handle with Care
Sharp Blades: The blades in a Vitamix blender are extremely sharp. Always handle them with care to avoid injury during cleaning.
Disassembly (If Applicable): Some Vitamix models allow you to remove the blade assembly. Refer to your manual to determine if this is possible and follow the instructions for safe removal.
Step 2: Clean the Blades
Dish Soap and Water: Fill the container with warm soapy water and, if possible, gently scrub the blades with a soft sponge. Alternatively, use the blending method with the soapy water, as described in the daily cleaning section.
Blade Brush: A blade brush, typically a small brush designed to clean between the blades, can be useful for removing food particles and residue. Brush carefully to avoid damaging the blades.
Step 3: Rinse and Dry
Rinse Blades: After cleaning, rinse the blades thoroughly with warm water to remove all soap and residue. Shake off excess water and dry the blades with a clean cloth or air dry them upside down in a dish rack.
Cleaning the Motor Base
While the motor base doesn’t come into contact with food, keeping it clean is essential for the overall maintenance and appearance of your Vitamix.
Step 1: Unplug and Wipe Down
Unplug the Blender: Always unplug the blender before cleaning the motor base to ensure safety. Never immerse the base in water.
Wipe with Damp Cloth: Use a damp cloth to wipe down the exterior of the motor base. Pay attention to buttons, dials, and any crevices where dust and splashes may accumulate.
Step 2: Use Mild Cleaning Agents
Avoid Harsh Chemicals: Avoid using harsh chemicals or abrasive cleaners that can damage the finish of the motor base. Mild dish soap or vinegar diluted with water can be used for tougher spots.
Q-Tips for Crevices: For hard-to-reach areas, use Q-tips or a small soft brush to clean dust and grime. Dampen the Q-tip with your cleaning solution for better results.
Step 3: Dry and Reassemble
Dry the Base: After cleaning, use a dry cloth to wipe any remaining moisture. Ensure the motor base is completely dry before plugging it back in or using the blender.
Reassemble (If Necessary): Reassemble any parts you may have removed during the cleaning process. Ensure everything is intact and secure before using the blender again.
Special Considerations for Different Vitamix Models
Different Vitamix models may have unique features or components that require specific cleaning methods.
Personal Blender Models: Personal blender models may come with additional travel cups and lids. Wash these parts according to the manufacturer’s instructions, typically with warm soapy water and thorough rinsing.
High-Performance Models: High-performance models with advanced features, such as self-cleaning buttons or special programs, should be cleaned according to the user manual. Utilize any built-in cleaning functions for optimal results.
Blender Attachments: Some Vitamix blenders include attachments like dry grain or food processing containers. Clean these attachments separately, following the same basic principles but paying attention to unique design features.
Troubleshooting Common Cleaning Issues
Encountering cleaning challenges is common; knowing how to troubleshoot them can make the process smoother.
Lingering Odors: Lingering odors often result from strongly flavored ingredients like garlic or onions. Soaking the container in a baking soda and water solution overnight can help neutralize persistent smells.
Cloudy Container: A cloudy blender container often results from mineral deposits or residue buildup. Use a mixture of white vinegar and warm water to soak the container, then scrub with a non-abrasive sponge.
Stubborn Stains: For tough stains, try soaking the container with lemon juice and warm water. The acidity helps break down and lift stubborn residues.

Proper Maintenance and Storage
Proper maintenance and storage practices ensure your Vitamix blender remains in top condition for years.
Routine Inspections: Regularly inspect your blender for signs of wear, damage, or buildup. Address issues promptly to prevent them from affecting performance.
Storage Tips: Store the blender with the container inverted (upside down) to allow for complete drying and prevent any trapped moisture. Keep the motor base in a dry, cool place away from direct sunlight.
Preventive Steps: Avoid blending excessively hot liquids above recommended temperatures, as this can cause damage and stubborn residues. Always follow the manufacturer’s guidelines for maximum liquid temperatures and blending times.
User Experiences and Feedback
Hearing from other Vitamix users can provide additional insights and tips for maintaining your blender.
Positive Experiences: Many users appreciate the self-cleaning capabilities of Vitamix blenders, noting that a simple blend of soap and water often suffices for daily cleaning.
Challenges and Solutions: Some users struggle with removing tough stains or odors. Community tips often include using natural cleaners like vinegar or lemon juice and letting them soak.
Innovative Cleaning Methods: Users share creative cleaning methods, such as using denture cleaning tablets or effervescent tablets for a thorough deep clean. These methods can be effective for particularly stubborn residues.
Conclusion
Keeping your Vitamix blender clean involves a combination of daily maintenance and occasional deep cleaning. By following the outlined steps—rinsing, using soap and water, addressing stubborn stains, and cleaning individual components—you can ensure your blender remains in excellent condition. Proper storage and preventive measures further enhance its longevity and performance. Regular cleaning not only maintains the hygiene and efficiency of your Vitamix but also extends its lifespan, ensuring you can continue to enjoy smoothies, soups, and other creations effortlessly. Whether you are a new owner or a long-time user, these cleaning tips will help you keep your Vitamix blender in top shape.