Introduction: The Ease and Efficiency of Blender-Made Pesto
Making homemade pesto is a delightful and versatile way to elevate your culinary creations. While traditionally prepared using a mortar and pestle, using a blender offers a convenient and efficient alternative that yields equally delicious results. In this comprehensive guide, we will provide you with a step-by-step process to make flavorful pesto using a blender. From selecting quality ingredients to achieving the desired consistency, we will guide you through the process, ensuring a smooth and enjoyable pesto-making experience.
Creating Flavorful Pesto with a Blender: A Step-by-Step Guide
-
Gather Your Ingredients
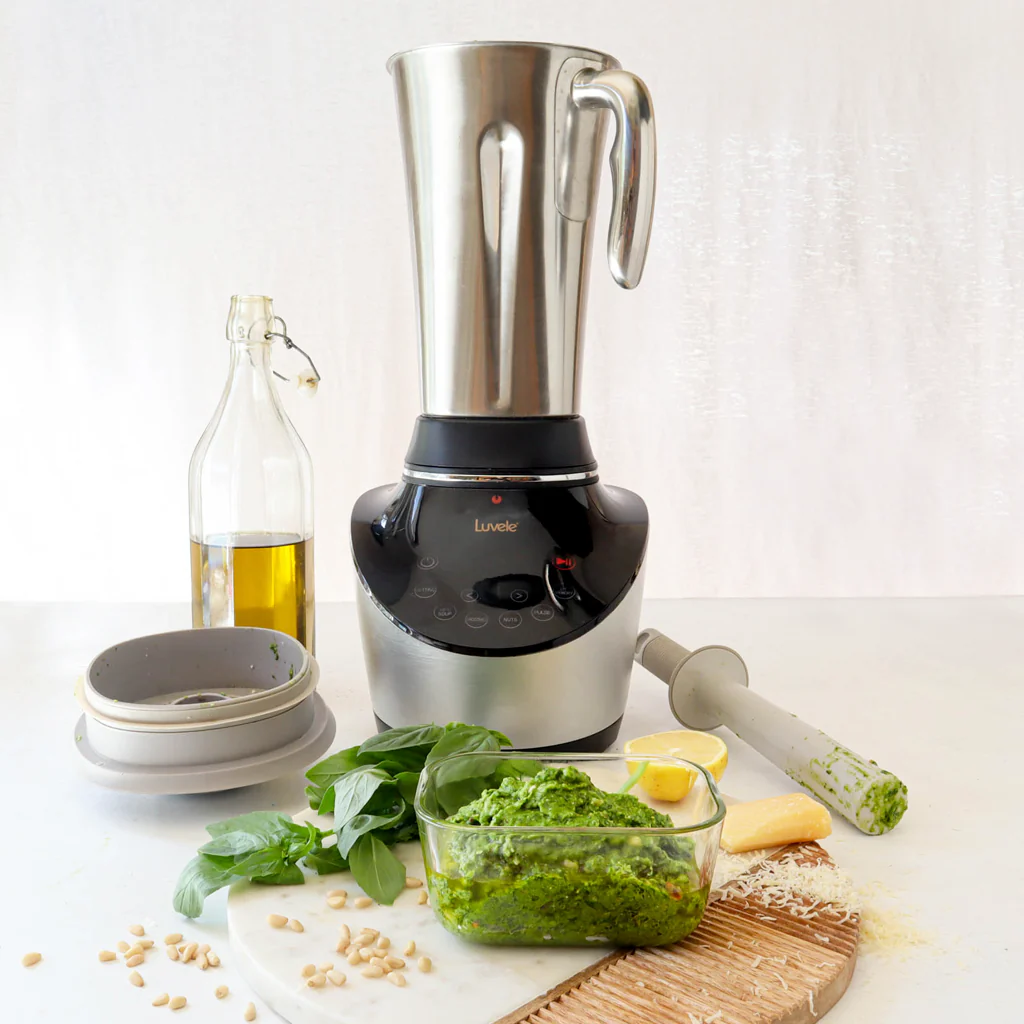
Before starting the pesto-making process, gather the following ingredients:
a. Fresh basil leaves: Select a bunch of fresh basil leaves, ensuring they are vibrant and aromatic. The quantity depends on your desired pesto batch size.
b. Garlic cloves: Use fresh garlic cloves to infuse the pesto with a robust flavor. Adjust the quantity based on your preference for garlic intensity.
c. Pine nuts: Traditional pesto includes pine nuts, but you can experiment with alternatives like walnuts or almonds for unique flavor profiles. Use a handful of nuts to enrich the pesto texture and taste.
d. Parmesan or Pecorino cheese: Grate a generous amount of Parmesan or Pecorino cheese to provide a rich, salty, and creamy dimension to the pesto. Adjust the quantity to taste.
e. Extra virgin olive oil: Choose high-quality extra virgin olive oil for its distinctive flavor and to achieve a smooth consistency. You will need enough to bind all the ingredients together.
f. Salt and pepper: Add a pinch of salt and a dash of freshly ground black pepper to enhance the overall flavor of the pesto.
-
Prep and Measure the Ingredients
To ensure a seamless blending process, properly prepare and measure the ingredients:
a. Wash and dry the basil leaves: Thoroughly wash the basil leaves under cool water to remove any dirt or debris. Gently pat them dry with a clean kitchen towel or paper towels.
b. Peel and chop the garlic: Peel the garlic cloves and roughly chop them into smaller pieces. This allows for easier blending and ensures an evenly distributed garlic flavor throughout the pesto.
c. Grate the cheese: Using a grater, grate the desired amount of Parmesan or Pecorino cheese. Adjust the grating size based on the desired texture.
-
Assembling the Blender
Before adding the ingredients, make sure your blender is clean and dry. Assemble the blender pitcher or jar onto the base, ensuring a secure fit.
-
Adding the Ingredients
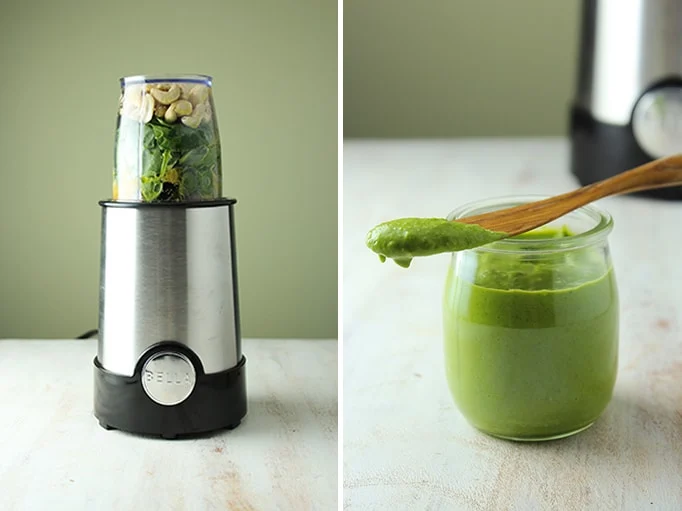
Now, it’s time to add the ingredients to the blender:
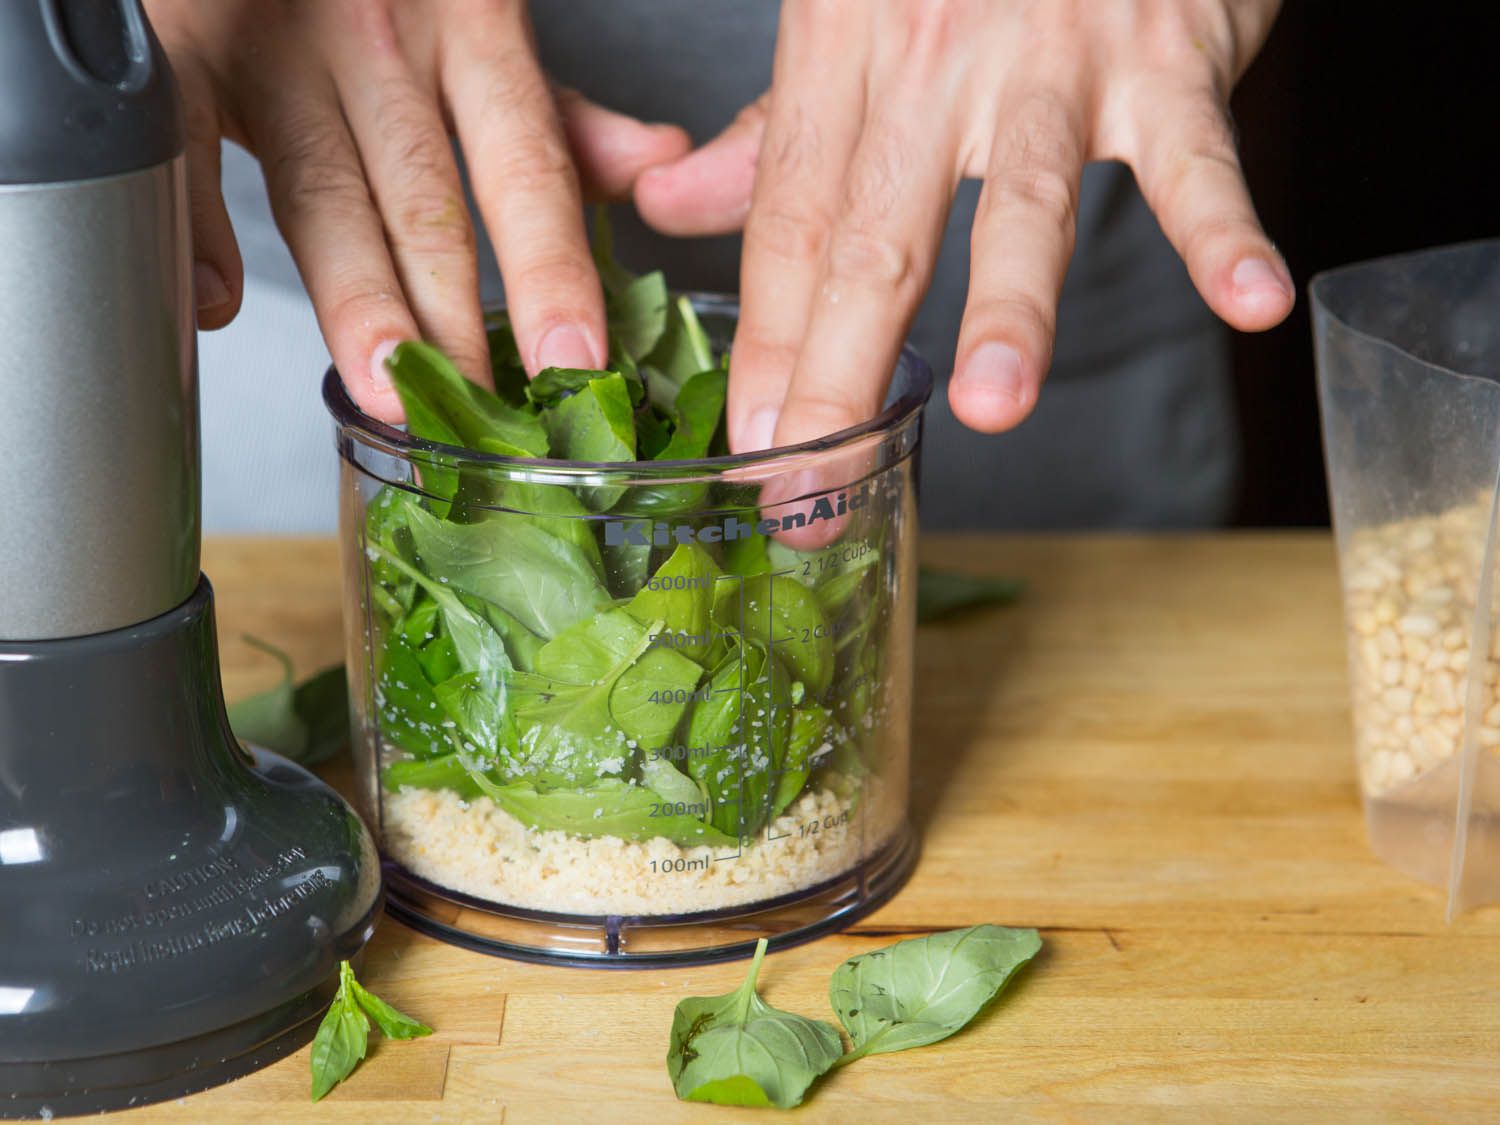
a. Place the basil leaves into the blender: Add the fresh basil leaves to the blender pitcher or jar.
b. Add the garlic and nuts: Carefully add the chopped garlic and the nuts of your choice to the blender.
c. Sprinkle in the grated cheese: Gradually sprinkle the grated Parmesan or Pecorino cheese into the blender, distributing it evenly among the other ingredients.
d. Season with salt and pepper: Sprinkle a pinch of salt and a dash of freshly ground black pepper over the ingredients.
e. Drizzle in the olive oil: Slowly drizzle the extra virgin olive oil into the blender, aiming for even coverage over the ingredients.
-
Blending to Perfection
With all the ingredients in the blender, it’s time to blend them into a smooth and well-incorporated pesto:
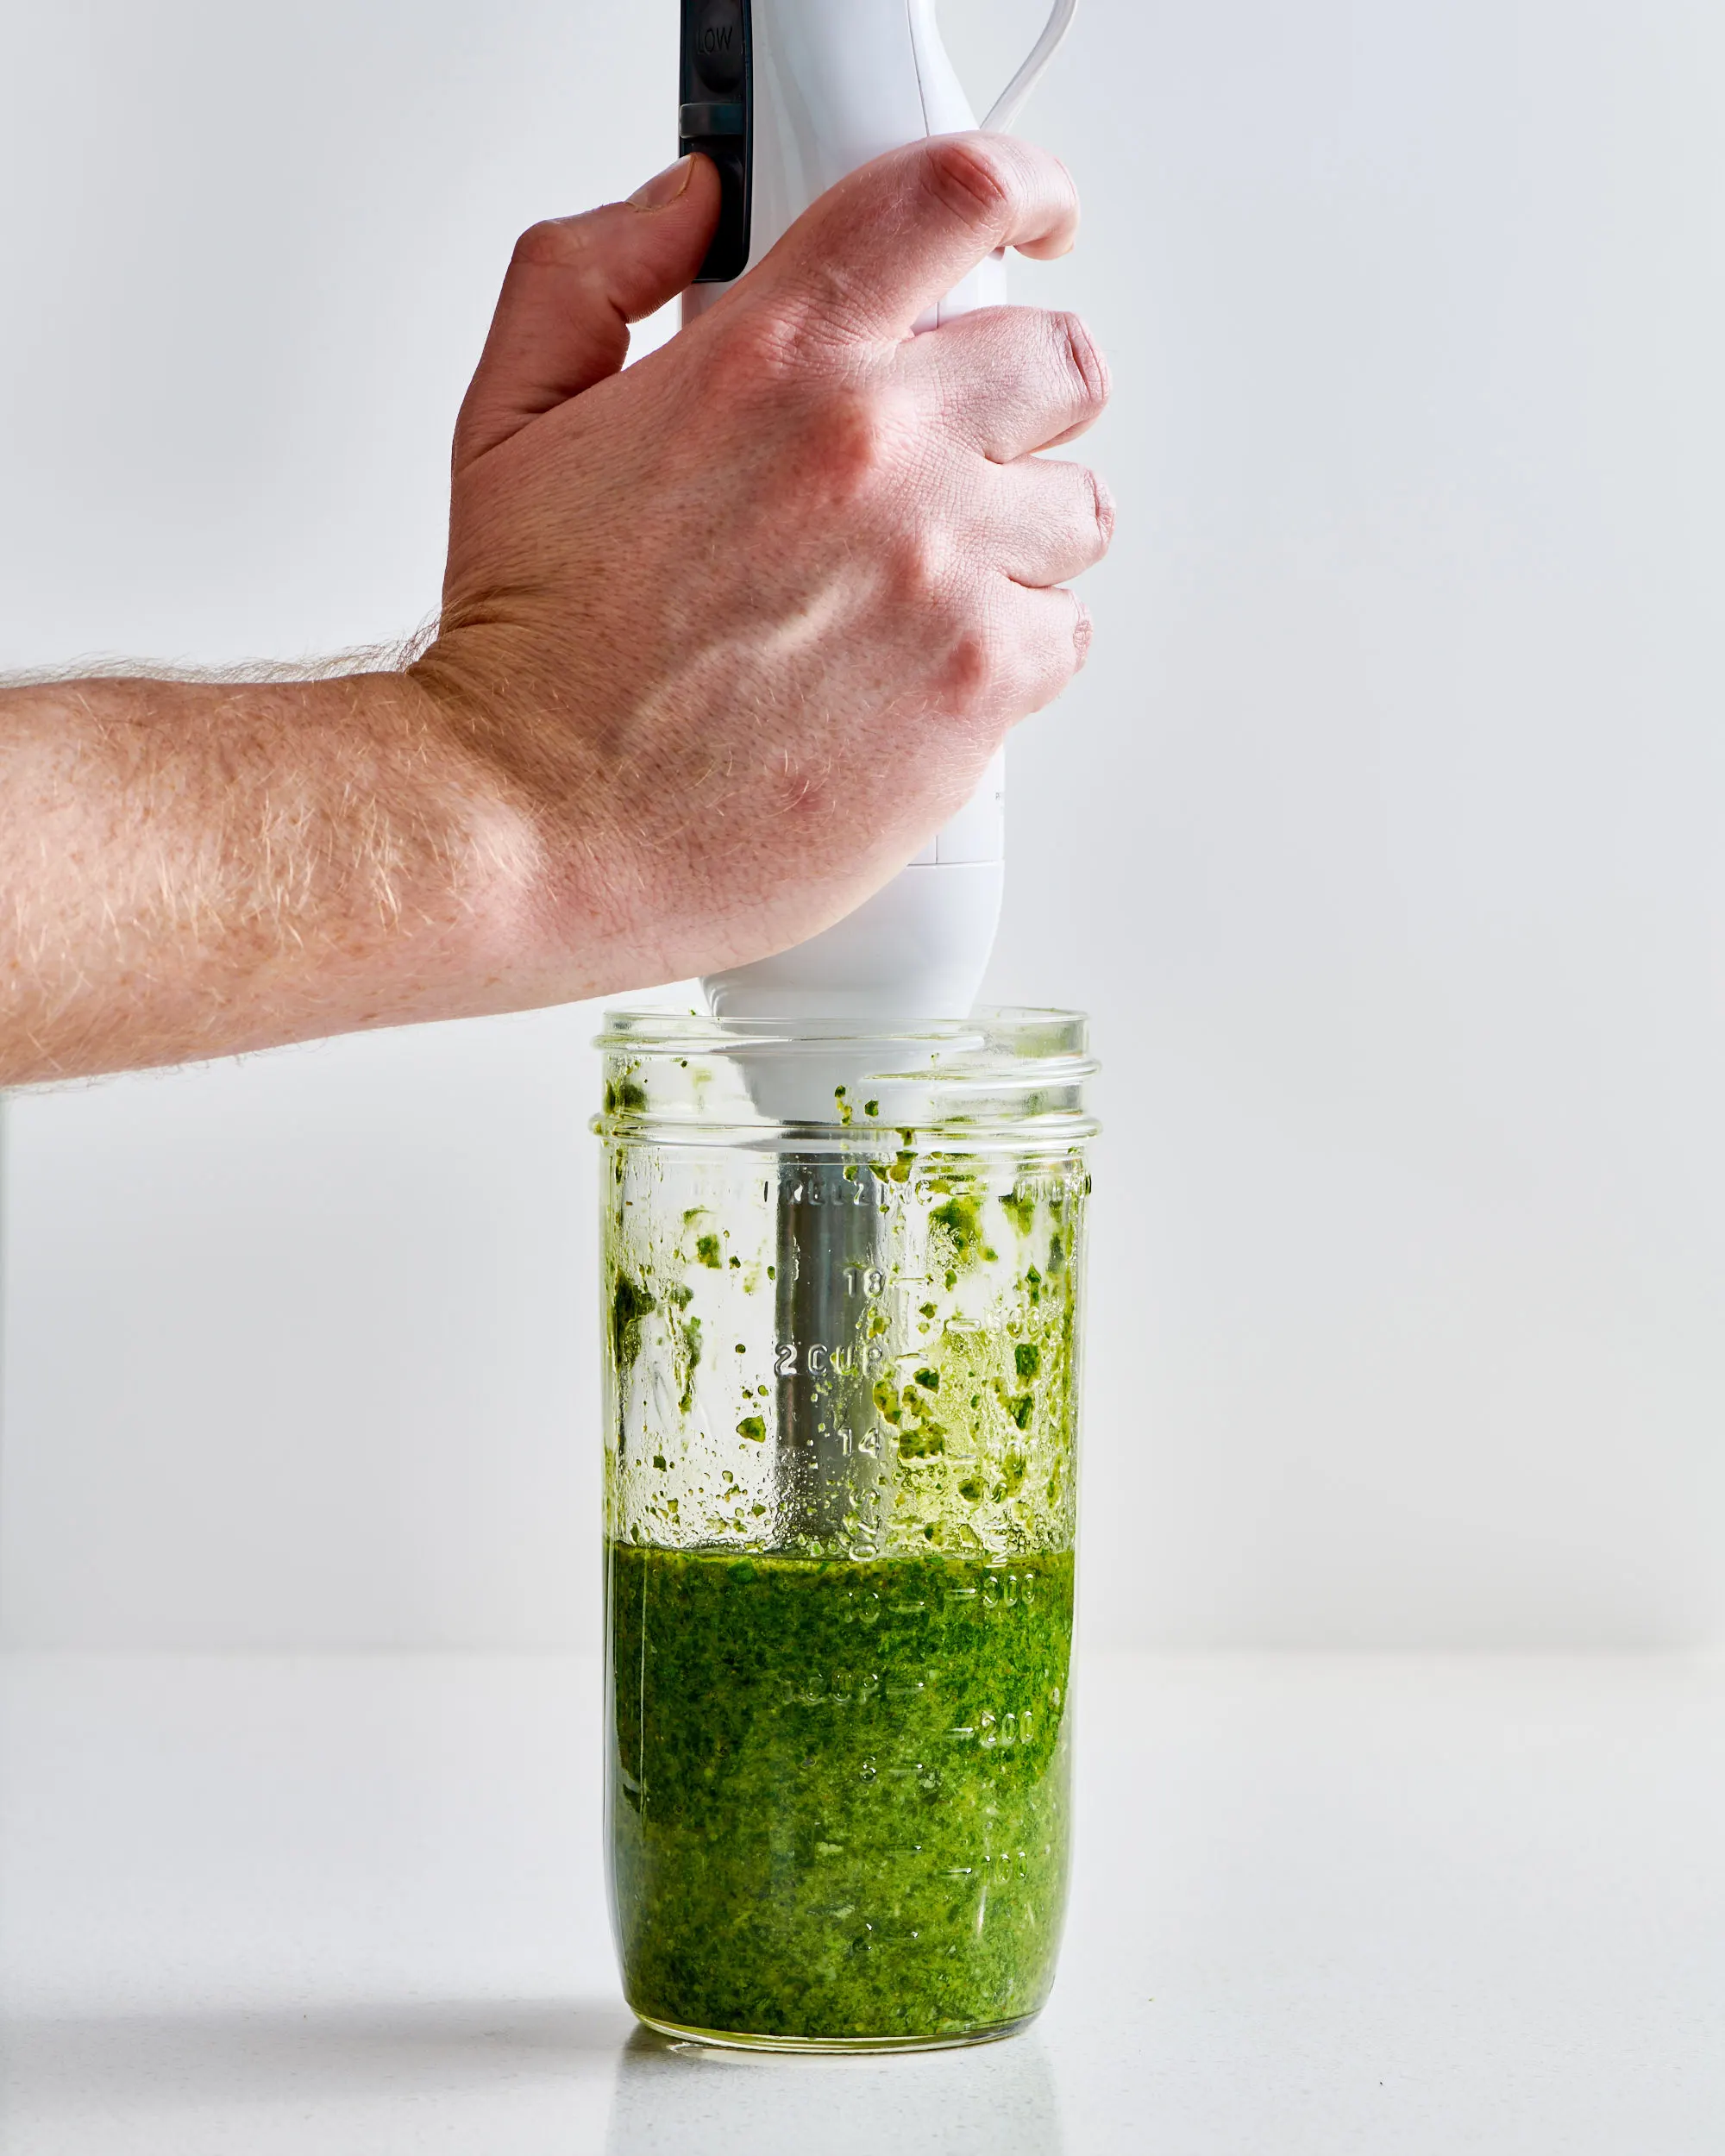
a. Start at a low speed: Begin blending at a low speed to break down the ingredients gradually. This allows for optimal texture and consistency control.
b. Increase the speed gradually: Gradually increase the blender speed to achieve a smoother and creamier pesto. Stop periodically to scrape down any ingredients that may have stuck to the sides of the blender pitcher.
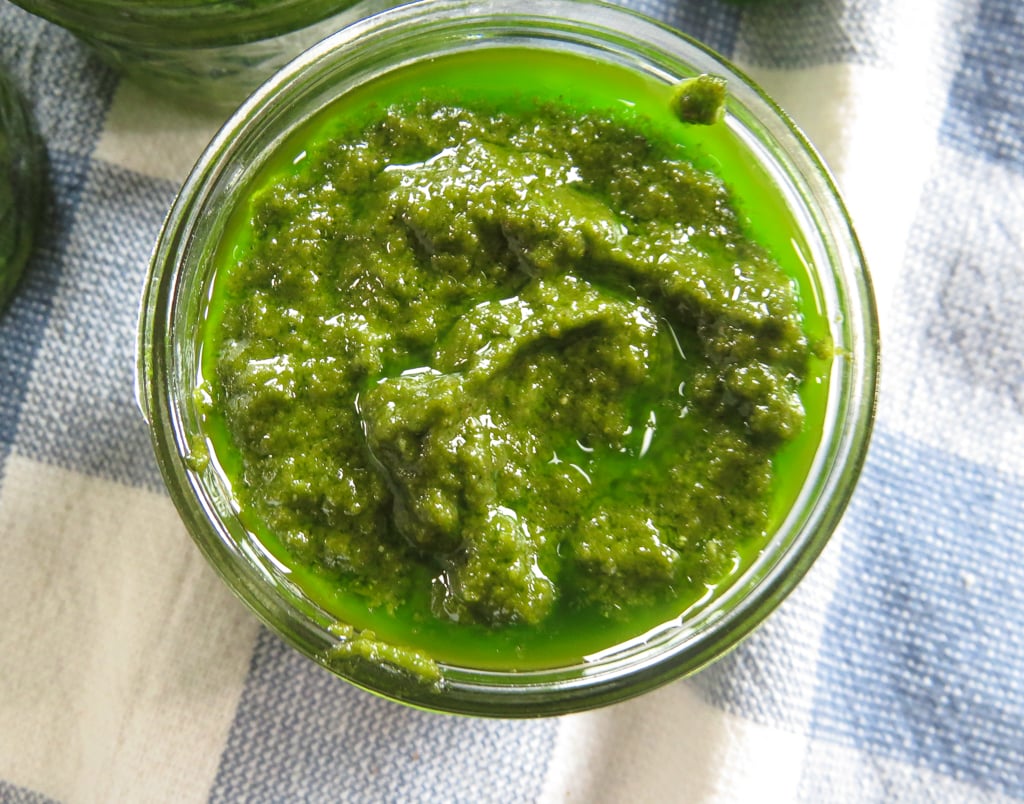
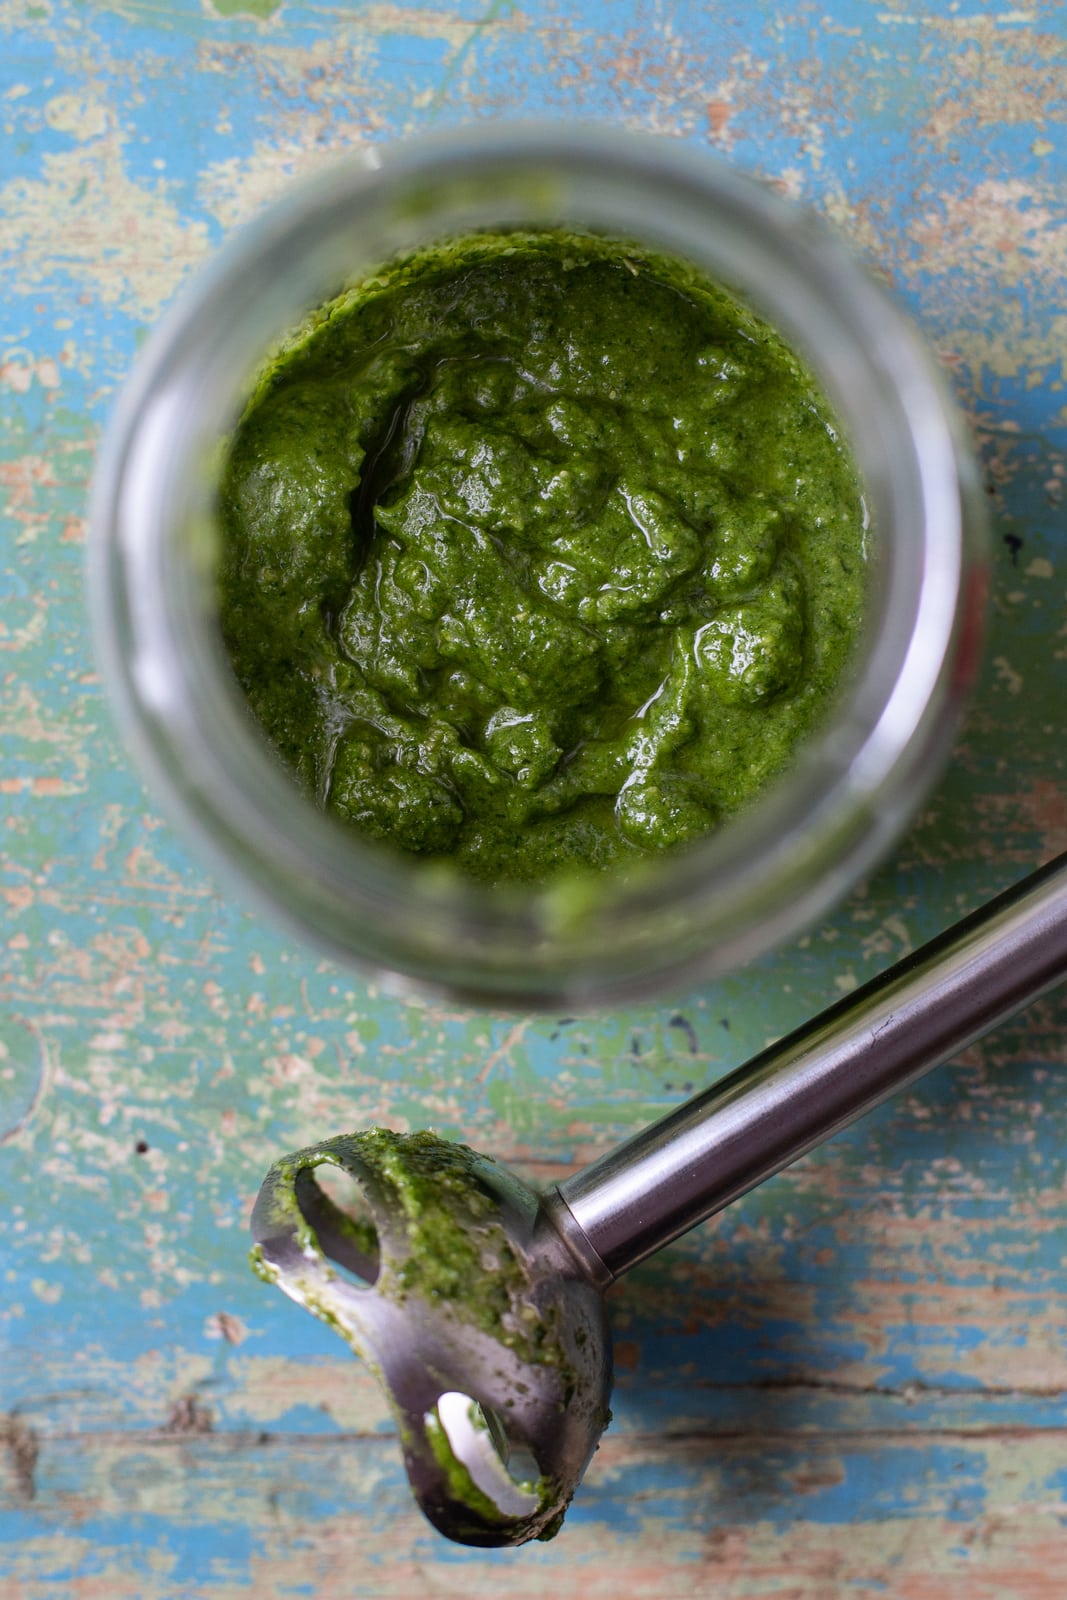
c. Blend until your desired consistency is reached: Continue blending until you achieve your preferred pesto consistency. Some prefer a slightly chunkier texture, while others enjoy a smoother result. Adjust the blending time according to your preference.
d. Taste and adjust: Pause the blending process to taste the pesto. Feel free to adjust the seasoning, garlic, cheese, or any other ingredient to suit your personal taste and desired flavor profile.
-
Storing and Serving the Pesto
Once the pesto reaches your desired consistency and taste, it is time to store and serve it:
a. Transfer the pesto to a container: Carefully transfer the freshly blended pesto from the blender into a clean, airtight container. This ensures its freshness and extends its shelf life.
b. Store in the refrigerator: Place the container of pesto in the refrigerator to maintain its flavor and quality. Pesto can generally be stored for up to a week, but the shelf life may vary depending on the ingredients used.
c. Enjoy in a variety of dishes: Use your freshly made pesto to elevate a plethora of dishes, including pasta, sandwiches, salads, roasted vegetables, and even as a flavorful dip. Get creative and explore the many ways pesto can enhance your culinary creations.
-
Additional Tips for Perfect Pesto
To further enhance your pesto-making experience and achieve exceptional results, consider the following additional tips:
a. Taste as you go: Throughout the blending process, pause to taste the pesto and adjust the ingredients accordingly. This allows you to customize the flavors to your liking and achieve a harmonious balance.
b. Experiment with ingredient variations: While traditional pesto includes basil, pine nuts, and Parmesan cheese, feel free to experiment with substitutions and additions. Try using different herbs like parsley, cilantro, or arugula, and explore alternative nuts like almonds, walnuts, or cashews. This allows you to create unique flavor profiles that suit your palate.
c. Toast the nuts: For added depth and richness, consider toasting the nuts before adding them to the blender. Simply place the nuts in a dry skillet over medium heat and toast them until golden and fragrant. Allow them to cool before adding them to the blender for blending.
Conclusion: Effortlessly Craft Flavorful Pesto with Your Blender
Blenders provide a practical, efficient, and user-friendly way to make delicious pesto at home. By selecting quality ingredients, properly preparing them, and following the step-by-step process outlined above, you can consistently create flavorful pesto with ease. From assembling the blender and adding the ingredients to achieving the desired consistency and taste, every stage of the pesto-making journey can be made effortless with a blender. Enjoy the versatility of your homemade pesto in a variety of dishes and savor the culinary possibilities that this vibrant condiment brings to your table.