
Introduction
Making your own apple juice at home using a blender is a fantastic way to enjoy a refreshing and nutritious beverage. With just a few simple steps, you can transform fresh apples into a delicious and healthy drink that is free of additives and preservatives. In this guide, we will outline a step-by-step process of making apple juice with a blender. From selecting the right apples to preparing and blending the ingredients, we will provide you with detailed instructions to ensure a successful juice-making experience.
Making Fresh Apple Juice with a Blender: A Simple and Nutritious Process
I. Choosing the Right Apples
-
Sweet and Tart Varieties:
- Select a combination of sweet and tart apple varieties to achieve a well-balanced flavor in your apple juice. Popular choices include Granny Smith, Honeycrisp, Gala, Fuji, or Pink Lady apples.
-
Organic and Fresh:
- Opt for organic apples whenever possible to ensure that your juice is free from pesticides or chemical residues. Choose apples that are firm, unbruised, and free from blemishes or wrinkles.
II. Washing and Preparing the Apples
-
Washing the Apples:
- Rinse the apples under cold running water to remove any dirt or debris. Use a produce brush to gently scrub the apples, especially if you are using non-organic varieties.
-
Core and Slice:
- Core the apples using an apple corer or a sharp knife. Remove the stem, seeds, and any woody parts. Slice the apples into smaller pieces, ensuring they are of an appropriate size to fit into your blender.
III. Blending the Apples
-
Blender Selection:
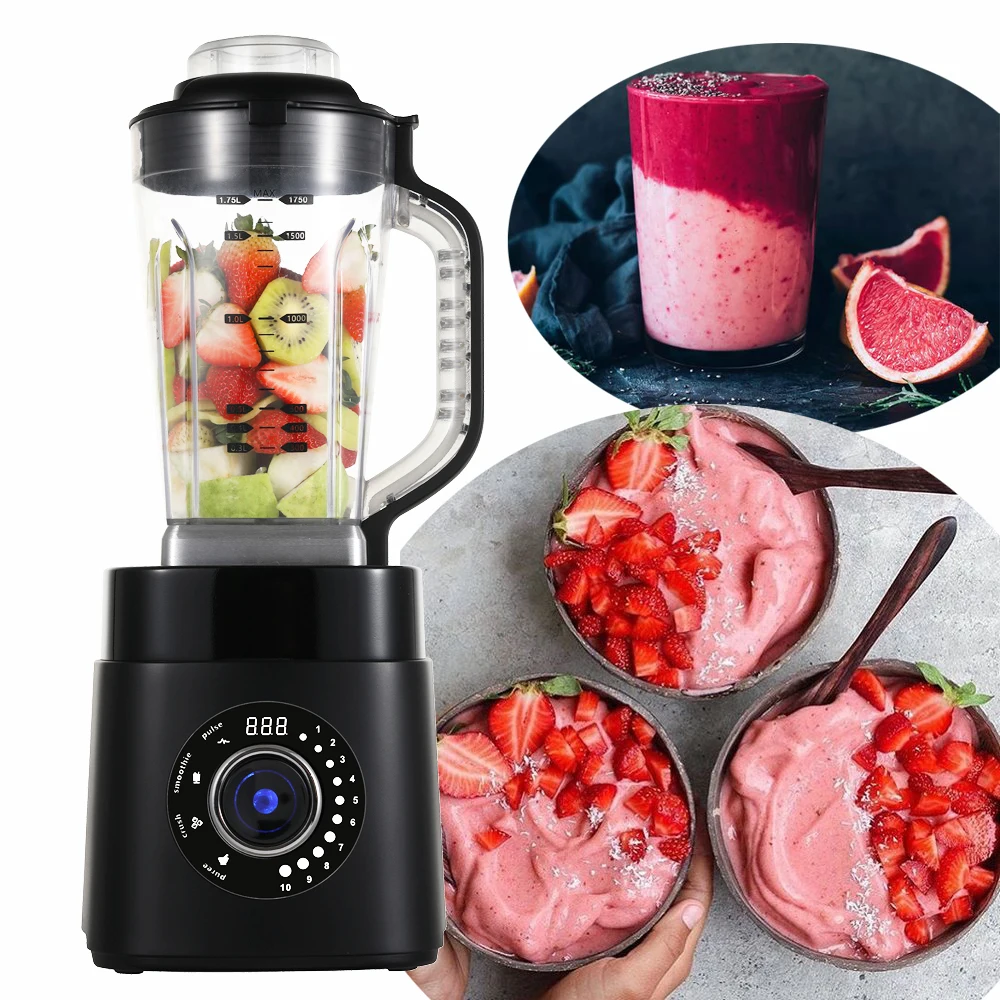
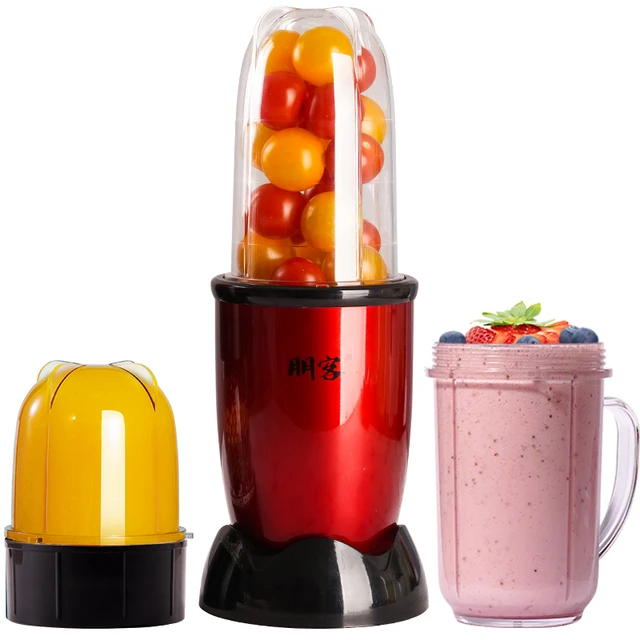
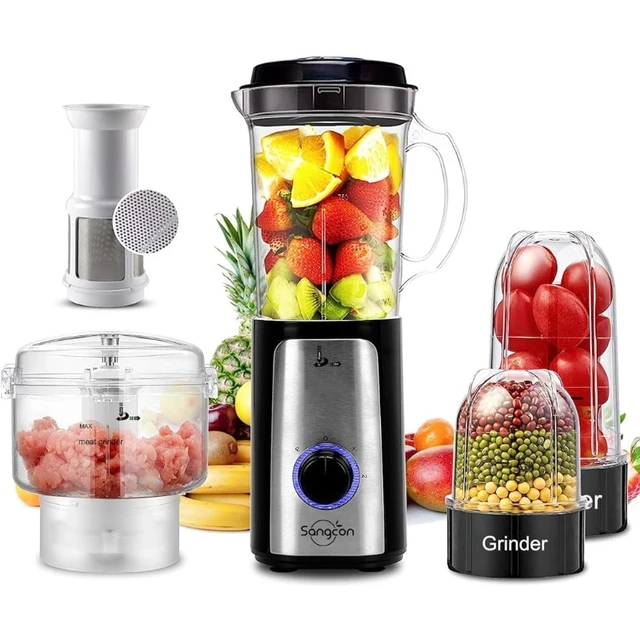
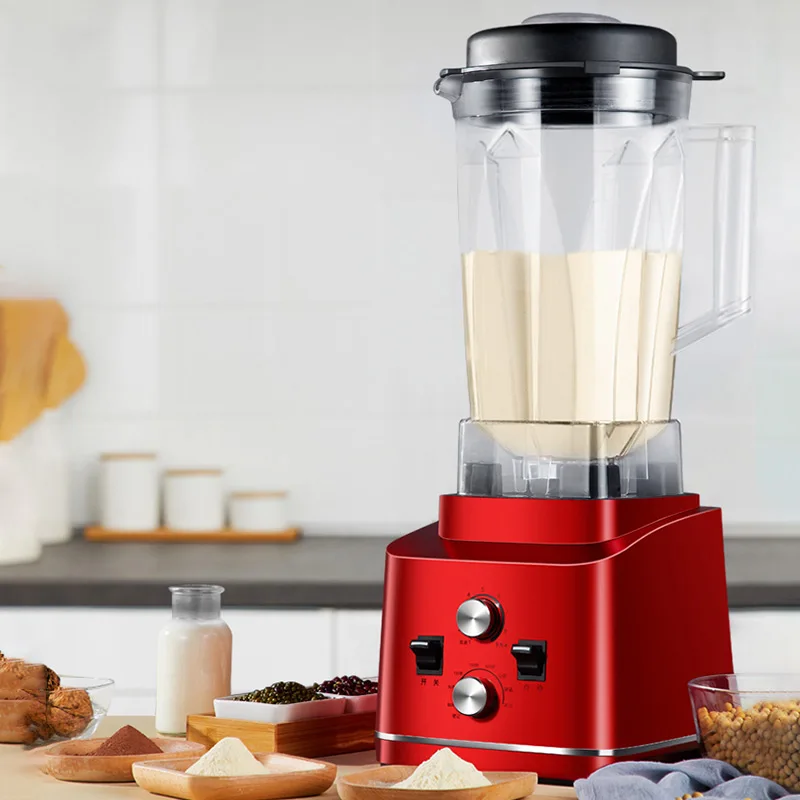
- Choose a high-powered blender capable of blending tough fruits and vegetables smoothly. A blender with variable speed and pulse options is ideal for achieving the desired consistency.
-
Loading the Blender:
- Place the sliced apples into the blender jar, filling it to about two-thirds full. Avoid overstuffing the blender to ensure proper blending and prevent overflow.
-
Adding Liquid:
- Add a small amount of liquid to the blender to help facilitate blending. Options include filtered water, lemon juice, or apple cider. Start with around 1/4 cup and adjust according to your desired consistency.
-
Optional Flavor Enhancements:
- If desired, add a dash of cinnamon, a squeeze of lemon juice, or a drizzle of honey to enhance the flavor of your apple juice. Experiment with different combinations to find your preferred taste.
-
Blending Process:
- Secure the lid tightly and start with a low speed. Gradually increase the speed as the apples begin to blend. Blend until the mixture reaches a smooth consistency, with no visible chunks or lumps.
IV. Straining the Apple Juice
-
Choosing a Strainer:
- Place a fine-mesh strainer or cheesecloth over a large bowl or pitcher to strain the blended apple mixture. Ensure that the strainer is positioned securely and has enough capacity to hold all the juice.
-
Pouring the Apple Mixture:
- Carefully pour the blended apple mixture into the strainer. Allow the juice to strain through at its own pace. Use a spatula or the back of a spoon to gently press down on the pulp to extract every bit of juice.
-
Composting the Pulp:
- Once most of the juice has strained through, discard the remaining pulp or save it for other purposes, such as composting or baking.
V. Adjusting the Consistency
-
Thickness Preference:
- If you prefer a thinner consistency, add a small amount of filtered water or apple cider to the strained juice and stir well. Repeat until you achieve your desired thickness.
-
Pulpy or Pulp-Free:
- If you enjoy a pulp-free juice, strain the juice a second time using a finer mesh strainer or a cheesecloth. This will remove any remaining pulp and result in a smoother texture.
VI. Serving and Storing the Apple Juice
-
Immediate Enjoyment:
- Pour the freshly made apple juice into a glass or add ice cubes for a chilled experience. Garnish with apple slices or a sprinkle of cinnamon, if desired. Enjoy immediately for the best flavor and nutritional value.
-
Refrigeration:
- If not consuming the juice immediately, transfer it to an airtight container and refrigerate. Freshly made apple juice can be stored in the refrigerator for up to 3-4 days. Shake well before serving.
-
Freezing:
- If you have excess apple juice, consider pouring it into ice cube trays and freezing. You can use these apple juice cubes to add flavor to smoothies or as a refreshing addition to water.
VII. Nutritional Benefits of Homemade Apple Juice
-
Vitamins and Minerals:
- Homemade apple juice is rich in essential vitamins and minerals, including vitamin C, vitamin A, potassium, and dietary fiber. These nutrients contribute to overall health and well-being.
-
Antioxidant Properties:
- Apples contain antioxidants that help protect the body against oxidative stress, lower the risk of chronic diseases, and support a healthy immune system.
Variations and Flavor Enhancements
-
Ginger Infused Apple Juice:
- Add a few slices of fresh ginger to the blender along with the sliced apples for a zesty and invigorating twist to your apple juice. Blend as usual and strain to enjoy the refreshing combination of ginger and apple flavors.
-
Mint and Apple Medley:
- Include a handful of fresh mint leaves in the blender with the apple slices for a cool and refreshing mint-infused apple juice. Blend thoroughly and strain for a revitalizing and flavorful beverage.
-
Berry Apple Fusion:
- For a burst of fruity flavors, add a handful of berries like strawberries, raspberries, or blueberries to the blender along with the apples. This will create a delightful berry-infused apple juice that is both colorful and delicious.
-
Cinnamon-Spiced Apple Juice:
- Enhance the natural sweetness of the apple juice by sprinkling a pinch of ground cinnamon into the blender while blending the apples. The warm and comforting aroma of cinnamon will add depth and richness to your juice.
VIII. Conclusion: Homemade Goodness in Every Sip
Making your own apple juice with a blender allows you to control the ingredients and enjoy a fresh and nutritious beverage. By following the steps outlined in this guide, from selecting the right apples to preparing, blending, and straining the juice, you can create a homemade drink that is bursting with flavor and health benefits.
Customize your apple juice by adding optional flavors or adjusting the consistency to suit your preferences. Whether enjoyed immediately or stored for later consumption, homemade apple juice is a wonderful addition to your daily routine. Embrace the satisfaction of creating a delicious and wholesome beverage right in your own kitchen.